
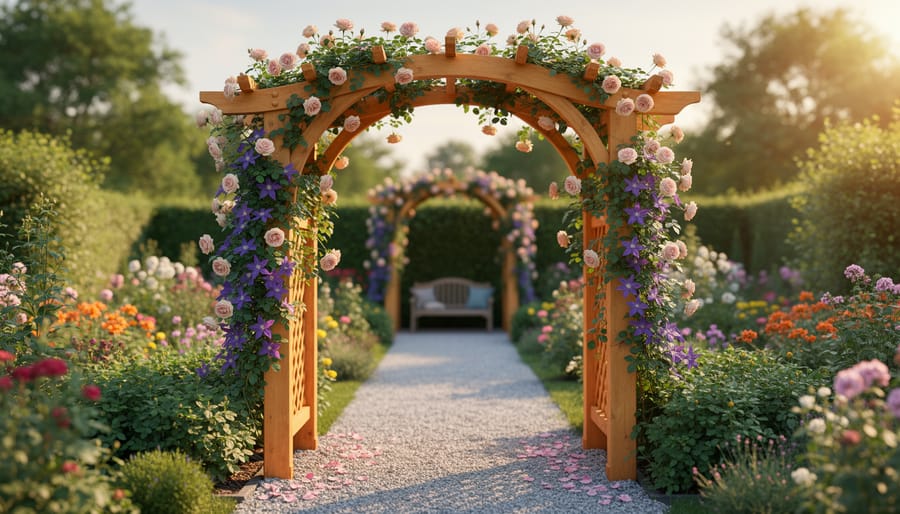
Build a Stunning Garden Archway That’ll Make Your Neighbors Jealous
Measure your garden pathway width and add 18 inches on each side—this gives climbing roses and clematis room to cascade without smacking visitors in the face. A standard 4-foot-wide arch works perfectly for most gardens and won’t require special-ordering materials from three different hardware stores.
Choose between pressure-treated lumber for a rustic 10-year lifespan or rot-resistant cedar that’ll outlast your neighbor’s opinions about your landscaping choices. Metal arches offer longevity but require welding skills (or a very persuasive friend with a workshop). For beginner-friendly success, go with simple wooden construction using 4×4 posts anchored two feet deep in concrete—frost heave is real, and watching your arch topple mid-winter is significantly less fun than it sounds.
Design your arch with an 80-inch minimum height at the center; anything shorter turns your garden feature into an unintentional limbo bar. Position it where it frames something beautiful—a blooming garden bed, a charming seating area, or at minimum, distracts from that questionable shed you’ve been meaning to paint since 2019.
The construction process takes one weekend for basic designs, though adding decorative lattice panels or curved top beams extends the timeline. Start with precise post placement, build sturdy crossbeams, and finish with creative details that reflect your personality rather than looking like every other garden center display model.
What You’ll Need: Materials and Tools
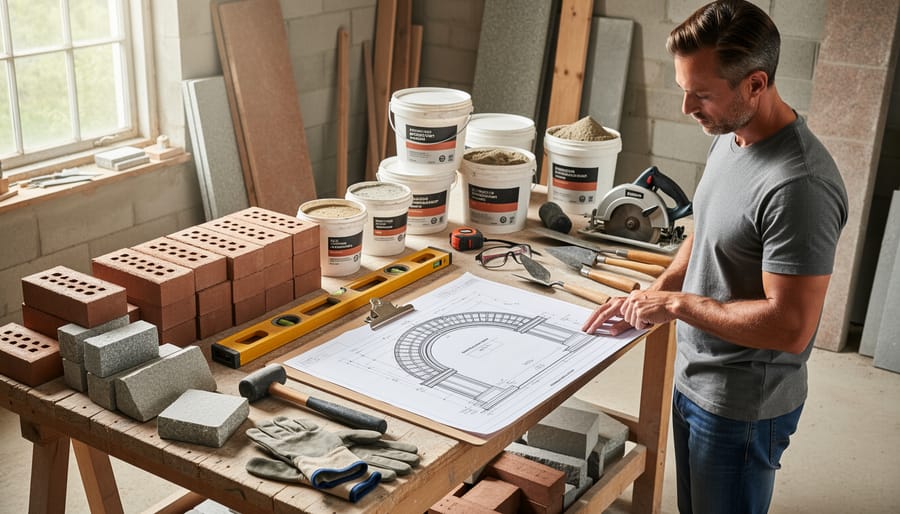
Before you channel your inner architect and start building, let’s gather everything you’ll need. Think of this as your garden archway treasure hunt, minus the pirates and with significantly more trip to the hardware store.
For materials, you’ll need lumber as your foundation. Pressure-treated 4×4 posts work wonderfully for the vertical supports, giving you about 8 feet of sturdy goodness per side. Cedar is the eco-conscious alternative here, naturally rot-resistant and smelling like a forest spa day. For the arch top, grab some 2x4s or 2x6s, depending on how robust you want your structure. You’ll also need lattice panels or thin slats for decorative side panels, unless you’re going for that minimalist vibe.
Hardware essentials include galvanized wood screws in various lengths, L-brackets for reinforcement, and metal post anchors to keep everything grounded. If you’re installing in soil, grab some quick-setting concrete mix. Budget-conscious builders can skip fancy brackets and use extra screws with smart angling techniques.
Tool-wise, you’ll need a circular saw or handsaw for cutting, a power drill with assorted bits, a sturdy level because wonky archways aren’t charming, and a reliable measuring tape. Don’t forget a post hole digger or auger, pencil for marking, safety glasses, and work gloves.
For the environmentally mindful, consider reclaimed wood from salvage yards or repurposed pallets. They add character and keep usable materials out of landfills. Plus, you’ll have excellent dinner party stories about where your archway came from. Just ensure reclaimed lumber is structurally sound and free from chemical treatments before using it near edible gardens.
Choosing the Perfect Spot for Your Archway
Location, location, location! It’s not just real estate advice—your archway’s placement can make or break its impact. Think of your archway as the jewelry of your garden; it needs the right setting to truly sparkle.
Start by observing your garden’s natural traffic patterns. Where do you and your guests naturally walk? An archway positioned along a main pathway creates a sense of journey and anticipation, like nature’s own “You Are Here” marker. Alternatively, placing it at the entrance to a specific garden zone—say, from lawn to vegetable patch or patio to flower beds—divides spaces beautifully while maintaining flow.
Consider sightlines from your favorite viewing spots: your kitchen window, patio furniture, or the back door. An archway positioned to frame a beautiful tree, sculpture, or blooming border becomes an instant focal point that draws the eye and adds depth to your garden composition. It’s basically Instagram-worthy landscaping without even trying.
Sunlight is your planning partner here. If you’re dreaming of climbing roses or wisteria cascading over your arch, ensure the spot gets at least six hours of direct sunlight. Shadier locations work wonderfully for clematis or honeysuckle, which are more forgiving of dappled light.
Don’t forget scale and proportion. A massive archway in a tiny courtyard feels overwhelming, while a delicate structure might disappear in a sprawling landscape. Measure twice, visualize often, and remember: confidence makes everything look intentional.
Step 1: Measure, Mark, and Prep Your Site
Before you start hammering away with wild abandon (we admire your enthusiasm!), let’s channel that energy into some strategic planning. Think of this as the “measure twice, curse never” phase of your garden archway adventure.
First, decide where your archway will live. Walk your garden path and envision where you’d love to duck under cascading roses or dangling wisteria. Pro tip: choose a spot that gets adequate sunlight for whatever climbing plants you’re dreaming about.
Now grab your measuring tape and mark where your posts will go. Standard archways work beautifully at 4 feet wide and 7 feet tall, giving you plenty of headroom (unless you’re inviting basketball players to your garden parties). Mark each post location with a stake or spray paint—you’re basically creating a treasure map, except the treasure is structural stability.
Here’s where things get real: check if your site is level. On perfectly flat ground, you’re golden. On a slope? Don’t panic. You’ll need to adjust by digging one post hole deeper than the other to compensate. Use a level and string line between your markers to ensure everything lines up horizontally, even if the ground doesn’t cooperate.
Clear the marked areas of grass, rocks, and any adventurous tree roots trying to crash your construction party. A little ground prep now saves you from wrestling with obstacles later when you’re elbow-deep in concrete mix.
Step 2: Set Your Posts Like a Pro
Now comes the fun part where your archway dreams meet reality—and a little elbow grease. Setting your posts correctly is absolutely crucial because nobody wants a tipsy archway greeting their guests like it’s had one too many at the garden party.
Start by marking where your posts will go. Most arches look best with posts spaced 3-4 feet apart, creating that perfect frame for your prize-winning roses or that “somewhat alive” clematis you’re nursing back to health. Check your local building codes for proper footing depth requirements, which typically range from 18-36 inches depending on your frost line. In warmer climates, you might get away with shallower holes, while folks in northern regions will need to dig deeper to prevent frost heave from turning your beautiful arch into a wonky sculpture.
Here’s your foolproof installation process:
- Dig holes at least 8-10 inches wide using a post hole digger or auger. Pro tip: this is excellent anger management therapy.
- Add 4-6 inches of gravel to the bottom for drainage—because waterlogged wood is the enemy of longevity.
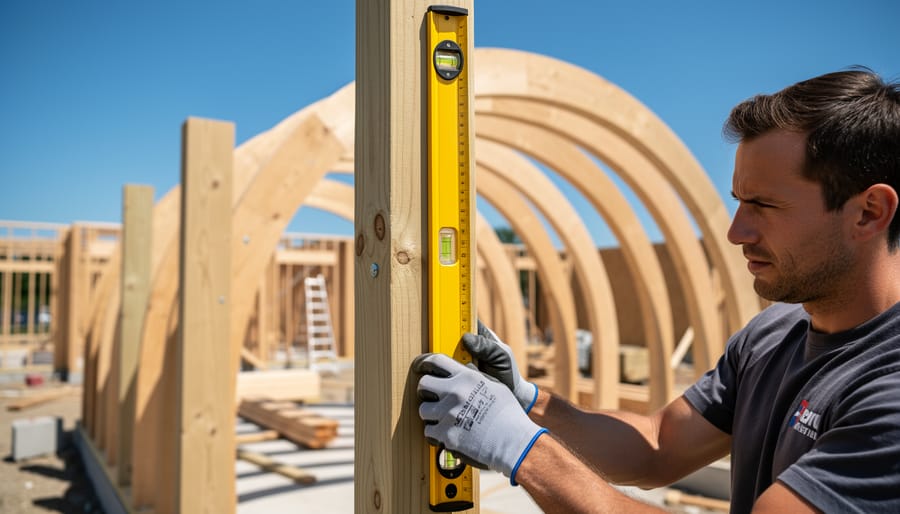
- Position your post in the hole and have a friend hold it steady while you check for plumb using a level on two adjacent sides.
- For permanent installations, mix quick-setting concrete according to package directions and pour around the post, leaving 2 inches at the top for soil.
- Recheck everything is plumb before the concrete sets—you’ve got about 10-15 minutes of wiggle room.
- Allow concrete to cure for 24-48 hours before attaching the arch top.
Prefer flexibility? Skip the concrete and use a gravel-only method, packing layers tightly with a tamping bar. This eco-friendly approach makes relocating your arch easier when you inevitably redesign your garden layout next spring.
Step 3: Build and Attach the Arch Top
Now comes the fun part—creating that gorgeous overhead structure that transforms two posts into an actual archway! Think of this as giving your garden its very own eyebrows. Expressive ones.
For a classic curved arch, you’ll need to create a gentle arc using flexible materials or pre-cut curved pieces. If you’re working with flexible wood like thin plywood strips or bendable PVC, cut two identical pieces about 6-8 feet long. Have a helper hold the center while you attach each end to the inside faces of your posts, creating that perfect rainbow shape. Secure with exterior screws every 8-10 inches, and don’t be shy with them—this piece needs to withstand wind, climbing roses with attitude, and the occasional wayward frisbee.
Prefer a straight top? Cut a sturdy 2×6 beam to span between your posts, typically 4-5 feet depending on your archway width. Here’s where angles matter: cut 45-degree angles on decorative support brackets that run from the posts to the underside of your top beam. These aren’t just pretty—they add crucial structural support. Attach the top beam first using galvanized lag bolts or heavy-duty screws driven through pre-drilled holes, then secure your brackets.
Feeling creative? Try a peaked Gothic arch by cutting two angled pieces that meet in the center, or go Japanese-inspired with a subtle upward curve at the ends. You could even create a flat-top pergola style with several parallel cross beams spaced 12 inches apart.
Whatever design you choose, make sure everything is level (your bubble level is your best friend here) and reinforce joints with metal brackets where possible. Mother Nature doesn’t do gentle breezes during summer storms, so build like you’re expecting drama—because you probably are.
Step 4: Add Support Braces and Decorative Elements
Now that your archway is standing proud, it’s time to give it some backbone and personality. Think of this step as adding both the structural integrity and the jazz hands to your creation.
Start with cross-braces to prevent your archway from doing the limbo in the next windstorm. Cut pieces of wood at 45-degree angles to fit diagonally between your vertical posts and top beam, creating triangle supports on each side. Secure these with galvanized screws or bolts. Yes, geometry class finally has a practical application. Who knew? These braces distribute weight evenly and keep everything square, which is builder-speak for “not wobbly.”
Next up, lattice panels. These are the climbing plant condos of the garden world. Attach pre-made lattice sections to the sides of your archway using wood screws, or get crafty and create your own by spacing thin slats in a crisscross pattern. Leave about 4-6 inches between slats, giving roses, clematis, or jasmine perfect footholds for their upward journey. Pro tip: mount the lattice slightly away from the main posts using small spacers. This creates airflow behind the vines and prevents moisture buildup that could rot your beautiful work.
Now for the fun part: decorative elements. Crown your archway with finials, those fancy toppers that make everything look intentionally grand rather than accidentally rustic. You can purchase ready-made finials or carve your own from scrap wood if you’re feeling artistic. Add scrollwork, decorative brackets, or even reclaimed vintage door hardware. One gardener’s junk drawer is another’s treasure chest. Paint or stain these accents in contrasting colors to make them pop, or keep everything natural for an organic cottage garden vibe.
Remember, these aren’t just pretty additions; they’re personality boosters that transform basic lumber into garden magic.
Step 5: Finishing Touches That Make It Pop
Your archway is built, standing proud, and now it’s time to make it gorgeous! Think of this stage as giving your creation its Sunday best. Start with a good sanding to smooth any rough edges that might snag clothes or catch climbing vines. Use 120-grit sandpaper for most surfaces, then finish with 220-grit for that silky-smooth feel. Your future self (and your roses) will thank you.
Now comes the fun part: choosing your finish. Here’s how different options stack up:
| Finish Type | Pros | Cons | Best For |
|---|---|---|---|
| Natural Oil (linseed, tung) | Eco-friendly, enhances wood grain, breathable | Requires reapplication yearly | Cedar, redwood, rustic looks |
| Water-Based Stain | Low VOC, color variety, durable | May raise wood grain slightly | Most wood types, modern gardens |
| Exterior Paint | Maximum protection, endless colors | Hides wood texture, higher maintenance | Statement pieces, cottage gardens |
For the eco-conscious gardener (hello, that’s you!), look for zero-VOC finishes or natural options like boiled linseed oil mixed with a splash of citrus solvent. Apply two coats, letting each dry completely. Want weatherproofing without the plastic sheen? Try a plant-based wood sealer. Your archway will age gracefully like a fine wine, blending beautifully with nature while standing strong against the elements. Mother Earth approves!
Dress It Up: Plant Pairing Ideas
Now comes the fun part – dressing up your archway with gorgeous greenery! For instant gratification (because who wants to wait forever?), jasmine and clematis are speed demons that’ll cover your structure in one growing season. Morning glories are basically the overachievers of the climbing world, practically sprinting up any vertical surface.
Classic climbing roses remain the romantic’s choice, though they’ll test your patience with their thorns during training. Wisteria creates breathtaking cascades of purple blooms but fair warning – this vigorous grower needs regular haircuts or it’ll take over your entire yard like a beautiful, fragrant monster.
For year-round interest, mix evergreen climbers like ivy with seasonal bloomers. Honeysuckle attracts hummingbirds and smells divine on summer evenings, while passionflower adds exotic flair with bizarre, Dr. Seuss-worthy blooms.
Consider your climate and sun exposure before committing. Full-sun lovers like bougainvillea won’t thrive in shade, while hydrangea vines appreciate afternoon relief from scorching rays. Pro tip: plant on both sides of your archway for balanced coverage, and remember that most climbers need gentle guidance initially – they’re ambitious but sometimes directionally challenged!
Common Mistakes (And How to Dodge Them)
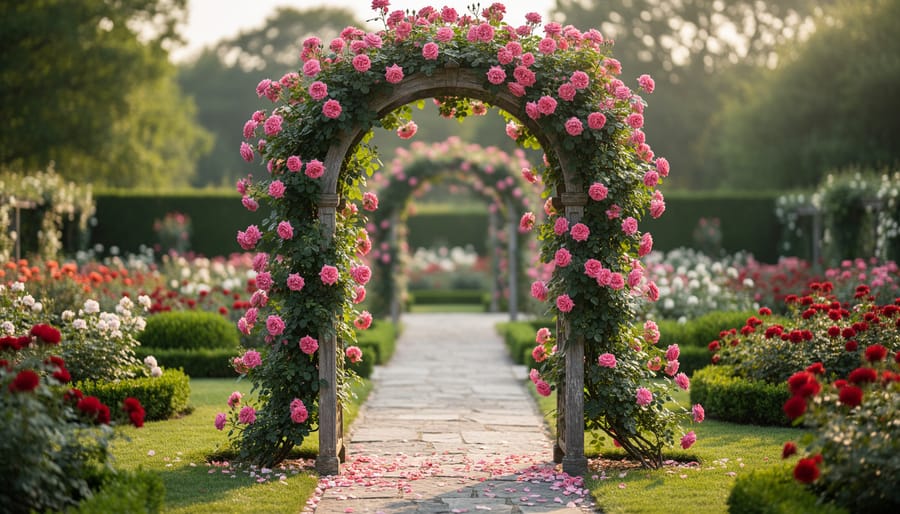
Let’s face it—even the most enthusiastic DIYer can stumble into archway mishaps! One classic blunder is digging post holes at different depths, leaving you with a wonky, carnival-funhouse-mirror arch. Prevent this by measuring twice (or thrice!) and using a level religiously. Already wobbly? Add concrete to stabilize those posts before your arch starts doing the limbo.
Weak joints are another party crasher. Skimping on screws or relying solely on nails creates an arch that’ll droop faster than your tomato plants in July. Solution? Use galvanized screws and add metal brackets for extra muscle. Your arch should be ready to support climbing roses, not collapse under their weight!
Choosing the wrong wood is like planting petunias in the shade—frustrating and doomed. Pressure-treated lumber or naturally rot-resistant cedar are your best friends here. Avoid untreated pine unless you enjoy rebuilding projects annually.
Finally, inadequate foundation support spells disaster. If your soil is sandy or your arch is hefty, sink those posts at least two feet deep with concrete collars. Think of it as giving your archway sturdy roots—because even garden structures deserve a solid grounding!
Congratulations! You’re now ready to transform your garden with a beautiful archway that’ll make your neighbors wonder if you moonlight as a professional landscaper. This isn’t just a structure you’ve built—it’s a living piece of art that’ll greet you with morning glories, frame your favorite roses, and create that magical threshold between ordinary yard and enchanted garden space.
Your archway will become a focal point where memories bloom alongside your climbing plants. Every time you walk beneath it, you’ll feel that little spark of pride knowing you created this with your own hands. And let’s be honest, that’s way more satisfying than buying something flat-packed from a big box store.
Don’t forget to snap some photos and share your masterpiece with fellow garden lovers online. Your experience might inspire someone else to pick up their tools and create their own garden magic. The beauty of DIY garden projects is that they grow and evolve with you, becoming more stunning with each passing season. Happy building, and may your archway overflow with blooms!
