
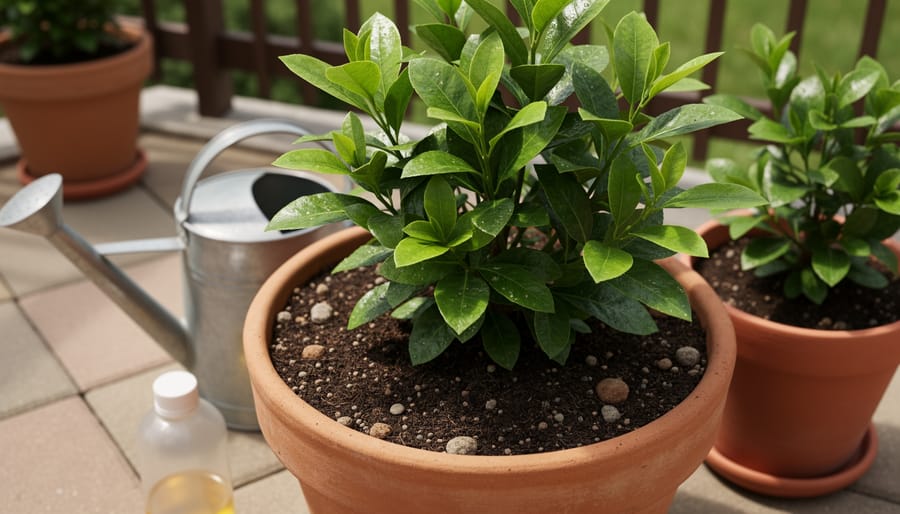
How to Fertilize Container Plants for Thriving Growth Year-Round
Feeding potted plants isn’t guesswork. Container plants need regular fertilization because frequent watering flushes nutrients from the soil far faster than in garden beds, leaving roots hungry even when the plant looks green. The fix is simple: apply a balanced, water-soluble fertilizer every two to four weeks during the growing season, cut back in fall and winter, and watch for crisp leaf edges or stunted growth as signs you’ve overdone it or skipped too long. That rhythm, paired with the right product and a light hand, keeps container gardens thriving without the burned roots or nutrient lockout that trip up beginners.
Container gardening works beautifully in small spaces, but the closed environment of a pot turns feeding into an active task rather than a set-it-and-forget-it chore. Unlike ground soil, which benefits from decomposing organic matter and a web of microbes, potting mix starts lean and loses what little it has with every soak. You’re the supply chain. Miss a few rounds and flowering slows, fruiting stalls, and that glossy foliage fades to chartreuse. Overdo it and salt buildup scorches roots, leaving you with crispy tips and confused plants that look worse after you helped.
This guide walks you through choosing fertilizers, timing applications to match plant activity, mixing and applying without waste, and spotting trouble before it becomes a funeral. We’ll cover liquid feeds, slow-release granules, organic options, and the seasonal adjustments that separate lush pots from sad, leggy stragglers. You’ll also learn how to read your plants, test your soil, and tweak your routine as weather and growth cycles shift, all while keeping things low-stress and environmentally sound. For https://gardeningknowhow.com additional resources to explore more gardening guidance.
Why Container Plants Need More Attention (And Why That’s Actually Fun)
Container plants live in a fascinating microcosm that operates on fast-forward compared to their in-ground cousins. When you pot a plant, you’re essentially creating a closed ecosystem where every resource, water, oxygen, nutrients, cycles through at an accelerated pace. The limited soil volume means roots have nowhere to roam when they need fresh nutrients, unlike garden beds where roots can explore feet of earth in search of what they need.
Here’s where it gets interesting: every time you water, you’re triggering a mini-flush system. Water flows through the drainage holes, carrying dissolved nutrients along with it. This leaching process happens constantly in containers, especially during growing season when you’re watering frequently. In garden soil, nutrients percolate down slowly and can be recycled by microorganisms and neighboring plant roots. In a pot, they’re often gone for good, washed straight out the bottom. Your container plants are literally eating from a shrinking pantry.
Root-bound conditions intensify this challenge. As roots fill the container, they push out soil, leaving even less growing medium to hold nutrients. A severely root-bound plant might be living in what’s essentially just a tangle of roots with soil residue, making it nearly impossible to maintain nutrition without active intervention.
But here’s the fun part: this limitation becomes your creative opportunity. You get to play plant nutritionist, observing exactly what your specific plant needs and responding with precision. There’s something deeply satisfying about hand-mixing a fertilizer solution for your tomatoes or watching a struggling fern perk up after its first proper feeding. Container gardening done right, with thoughtful fertilization and sustainable practices, also minimizes waste, keeps chemicals from leaching into broader ecosystems, and lets you control exactly what goes into your soil.
What You’ll Need: Fertilizers, Tools, and Supplies
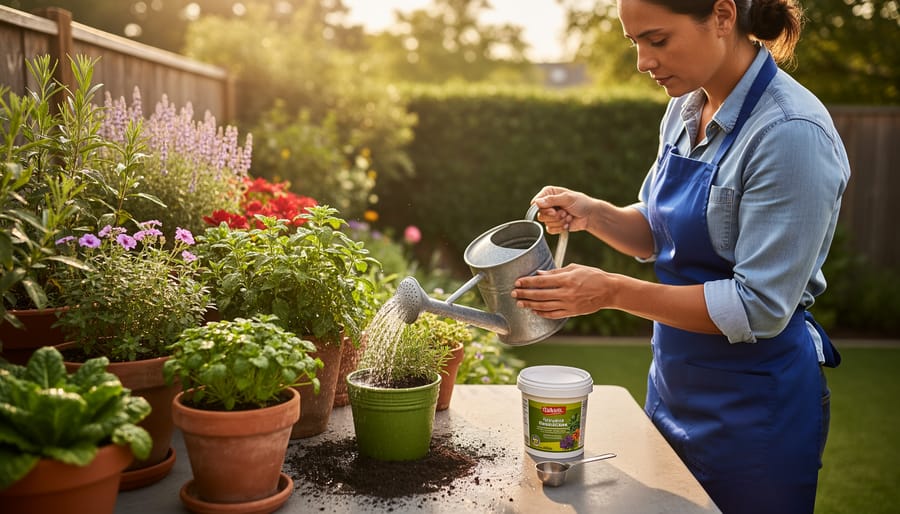
Before you mix your first batch of plant food, gather these essentials. Think of this as assembling your container-feeding toolkit, nothing fancy required, but having the right items on hand makes the whole process smoother (and prevents those “oops, I’m holding a watering can but forgot the fertilizer” moments).
Fertilizers: Your Options
You’ll choose from three main forms. Liquid fertilizers dissolve quickly and deliver nutrients fast, perfect for weekly or bi-weekly feeding routines. Granular formulas are sprinkled on soil and release nutrients as you water, giving you a middle-ground approach. Slow-release pellets or spikes feed plants gradually over weeks or months, ideal if you travel or prefer a set-it-and-forget-it method.
The organic versus synthetic debate matters less than matching the product to your plants and values. Organic options like fish emulsion or seaweed extract build soil health over time and align beautifully with eco-friendly practices. Synthetic formulas deliver precise nutrient ratios and work faster, which can be helpful for heavy feeders or quick corrections.
Your Container Feeding Toolkit
- Measuring tools: teaspoons, tablespoons, or small cups for accurate dosing (eyeballing leads to trouble)
- Watering can with a narrow spout or hose with a gentle spray attachment for even distribution
- Gloves to protect hands from concentrated products and keep your gardening apron cleaner
- Small notebook or phone app to track feeding dates and plant responses
- Optional: pH testing kit or soil probe to monitor growing conditions
- Optional: syringes (yes, the kind from pharmacies) for precise liquid measurements in smaller containers
For the DIY-minded, you probably already have compost, coffee grounds, or crushed eggshells at home, free fertilizer sources that reduce waste while feeding your plants. A clean bucket for mixing compost tea and an old kitchen strainer complete your homemade fertilizer setup. These simple supplies transform kitchen scraps into plant nutrition, making you both gardener and alchemist.
Safety First: What to Watch Out For
Before you get mixing and measuring, let’s talk about keeping both you and your plants safe. Think of fertilization like seasoning, too much enthusiasm can ruin the dish, and nobody wants a plant with fertilizer burn when you were just trying to help.
The biggest hazard is over-fertilization. More is definitely not better here. Excess fertilizer causes root burn, crispy leaf edges, white crusty deposits on soil or pot rims, and stunted growth. Your prized cottage garden plants don’t need a buffet when a balanced meal will do. You’re a caring plant parent, not a pushy one.
Always handle concentrated fertilizers with care. Wear gloves when mixing or applying products, especially synthetics. Keep fertilizers stored high and locked away from children and curious pets, these bright granules can look temptingly like candy or kibble. Wash your hands thoroughly after use.
Read product labels every single time, even if you’ve used that fertilizer before. Application rates vary wildly between brands and formulations. What works for tomatoes might torch your ferns.
Finally, be mindful of runoff. Don’t fertilize right before heavy rain, and avoid letting excess solution drain into storm sewers or natural waterways. Container gardening is greener when we keep those nutrients where they belong, with our plants, not polluting local ecosystems.
Step-by-Step: How to Fertilize Your Container Plants
Step 1: Assess Your Plant’s Needs
Before you reach for any fertilizer bottle, take a moment to really see your plant, it’ll tell you exactly what it craves. Flowering beauties like roses demand higher phosphorus (the middle number in N-P-K ratios) to produce those show-stopping blooms, while leafy foliage plants thrive on nitrogen-rich formulas that fuel lush greenery. Check your container for growth stage clues: young transplants need gentle, balanced feeding, whereas established plants in active growth can handle stronger doses. Edibles require careful timing too, feed herbs and veggies during their productive phase, not when they’re setting fruit (unless you want all leaves and no tomatoes). If you’re growing roses in containers, pair these fertilization insights with solid rose planting tips for best results. Look for visual signals: pale leaves suggest nitrogen hunger, weak stems indicate phosphorus deficiency, and poor flowering points to potassium needs, the three magic numbers (N-P-K) decoded through what your plant actually shows you.
Step 2: Choose the Right Fertilizer Type and Timing
Matching fertilizer type to your routine makes feeding easier. Liquid fertilizers offer precision and fast absorption, perfect if you enjoy weekly watering rituals and want quick results during active growth. Granular options release slowly over weeks, ideal for busy gardeners who prefer monthly applications. Slow-release pellets work for months, though you sacrifice flexibility when plants need adjustments.
Timing matters more than product choice. Feed container plants during their growing season, spring through early fall for most outdoor plants. Indoor tropicals often grow year-round under steady conditions and appreciate diluted monthly feedings. Stop fertilizing as plants enter dormancy in late fall; feeding resting plants wastes nutrients and can damage roots.
Frequency depends on formulation: liquids every one to two weeks at half-strength, granular monthly, slow-release every three to four months. Your plants will tell you if you’ve got it right through steady, healthy growth without the burnt-tip drama of overfeeding.
Step 3: Prepare Your Fertilizer Solution or Application
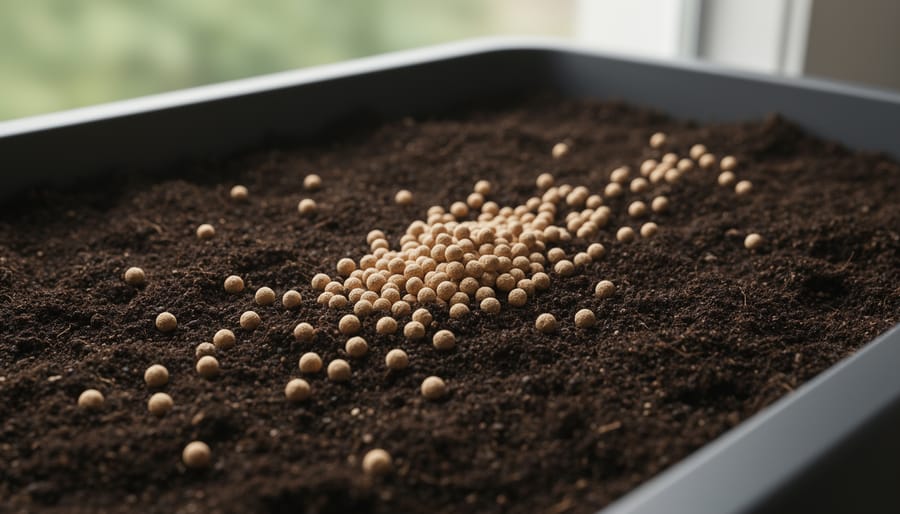
Grab your fertilizer and a measuring tool, precision matters here more than your enthusiasm does. For liquid fertilizers, always dilute according to package directions, typically mixing in a clean watering can or jug. Half-strength is your friend when you’re starting out or feeding sensitive plants. Measure carefully with a measuring spoon or the cap that came with your product, eyeballing rarely ends well.
If you’re using granular fertilizer, measure the recommended amount (usually tablespoons per pot size) and sprinkle it evenly across the soil surface, keeping it a couple inches from stems. For slow-release pellets, simply press them gently into the top inch of soil following spacing guidelines.
Whatever form you choose, read those package directions twice. They’re written for a reason, and “more is better” definitely doesn’t apply to plant food.
Step 4: Water First, Then Fertilize
Here’s the truth about fertilizing containers: dumping plant food onto dry soil is like pouring hot sauce on a sunburn. Ouch. The golden rule is simple, water first, fertilize second. Give your plant a good drink an hour or two before feeding (or at minimum, fifteen minutes). This pre-watering moistens the soil and plumps up the roots, creating a protective buffer that prevents concentrated fertilizer salts from shocking tender root hairs. Think of it as priming the canvas before painting. Dry roots are vulnerable and porous; hydrated roots can handle nutrients without damage. Your plants will thank you by actually using that fertilizer instead of nursing chemical burns. This one step prevents more container plant disasters than any other trick in the book.
Step 5: Apply Fertilizer Evenly
Pour or sprinkle your fertilizer in a circle around the outer edge of the pot, staying at least an inch away from the plant’s stem. Think of feeding the roots, not the trunk. If you’re using liquid fertilizer, pour slowly and move the spout around the perimeter rather than dumping it all in one spot. For granular products, scatter them evenly across the soil surface, then use your fingers to lightly work them into the top half-inch of soil. Clumping fertilizer in one area is like serving dinner to only one guest at the table, some roots feast while others starve, and nobody’s happy.
Step 6: Water Again (Lightly)
After you’ve applied your fertilizer, give your plants a gentle follow-up drink. This second watering helps nudge those nutrients down into the root zone where they’ll actually do some good, rather than sitting on the soil surface like an awkward house guest who won’t leave the porch.
You’re not looking to drench the soil again, just a light watering, maybe a quarter to half of what you gave in the pre-feed step. Think of it as a rinse cycle for your plant’s dinner plate. Pour slowly and evenly across the container’s surface to help distribute nutrients throughout the root ball and prevent any concentrated pockets that could cause burn spots.
If you see water immediately running out the drainage holes, you’ve probably done enough. The goal is moist soil, not a swamp. This final splash also washes any fertilizer residue off leaves where it landed accidentally, which matters because foliar burn is real and surprisingly easy to trigger with concentrated products sitting in sunlight.
Seasonal Fertilization Schedule: When and How Often
Container plants don’t follow a one-size-fits-all feeding schedule, they respond to the seasons just like you do. Here’s how to adjust your fertilization routine throughout the year to match your plants’ natural rhythms.
Spring (March-May): This is wake-up time for most plants. Start fertilizing outdoor containers in late March or early April, once temperatures consistently stay above 50°F and you notice new growth emerging. Begin with half-strength applications every two weeks for the first month, then increase to full strength. Indoor plants also perk up with longer daylight, switch from monthly winter feeding to every two weeks.
Summer (June-August): Peak growing season means peak feeding. Most flowering and edible container plants need weekly or bi-weekly fertilization during these productive months. The heat and frequent watering flush nutrients faster, so don’t skip feedings. For outdoor containers in climates with brutal summer heat (think Texas or Arizona), you might actually reduce frequency slightly in July and August when plants slow down to cope with stress.
Fall (September-November): Time to ease off the gas pedal. Reduce feeding frequency by half starting in September, if you were feeding weekly, switch to bi-weekly. By late October, most outdoor plants are preparing for dormancy. Give a final light feeding in early November, then stop until spring. Indoor tropical plants can continue light monthly feeding since they don’t go fully dormant.
Winter (December-February): Rest period for most plants. Outdoor containers need zero fertilizer, they’re asleep. Indoor plants get minimal feeding, maybe once a month at quarter-strength, just to maintain baseline health. Resist the urge to push growth when there’s insufficient light; you’ll create weak, leggy stems.
Climate trumps calendar. Southern gardeners might start spring feeding in February, while northern gardeners wait until May.
How to Tell If Your Fertilization Plan Is Working
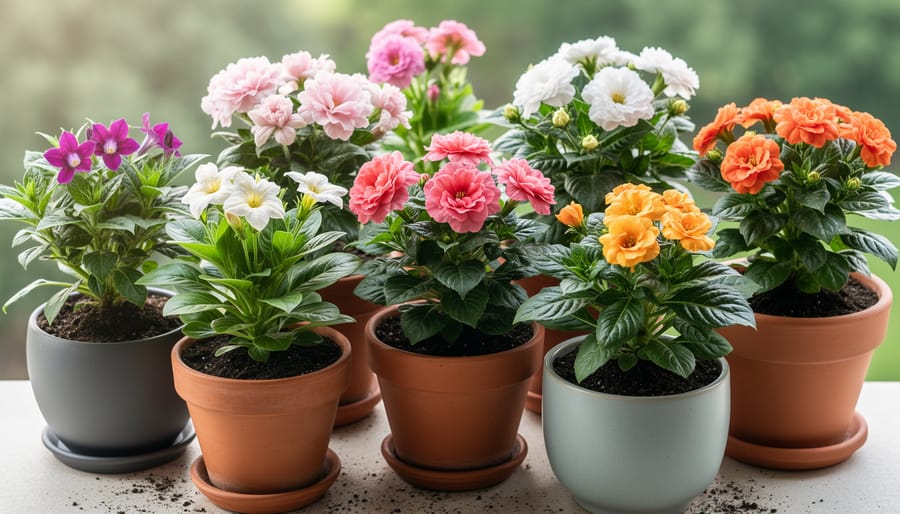
Your plants won’t send you a thank-you card, but they’ll definitely let you know how they feel about your feeding routine. Watch for these telltale signs that you’re on the right track, or need to course-correct.
Green Flags Your Plan Is Working
Healthy, well-fed container plants show vibrant, consistent color in their foliage. New growth emerges steadily throughout the growing season, and flowering plants produce abundant blooms with rich pigmentation. The leaves feel firm to the touch, not limp or papery, and stems stand strong without excessive legginess. If you’re growing edibles, you’ll notice steady fruit or vegetable production. When you fertilize herbs healthy plants develop aromatic, flavorful leaves with good oil content.
Warning Signs Something’s Off
Yellowing lower leaves often signal nitrogen deficiency, time to increase feeding frequency slightly. Pale, stunted growth with small leaves suggests your plant is hungry. On the flip side, brown or crispy leaf tips and edges indicate fertilizer burn from over-feeding. If you see lush, dark green foliage but no flowers, you’re likely giving too much nitrogen relative to phosphorus. Purple-tinged leaves can mean phosphorus deficiency, while yellow leaves with green veins point to iron issues.
Quick Adjustments That Work
Caught a problem early? For under-feeding, increase application frequency by 25% and watch for improvement over two weeks. If you’ve over-fertilized, flush the soil thoroughly with plain water, let it drain completely, then water again. This leaches excess salts. For nutrient imbalances, switch to a balanced fertilizer or one formulated for your plant type. Keep notes on what works; your containers will develop their own rhythm, and you’ll become fluent in their language.
Creative and Eco-Friendly Fertilizer Ideas
Your kitchen scraps don’t have to be trash, they can be tomorrow’s tomato fuel. Turning everyday waste into plant food is the ultimate gardening win: you save money, reduce landfill contributions, and give your containers a nutrient boost that’s gentler than synthetic options. Plus, there’s something deeply satisfying about feeding your plants with banana peels instead of buying another plastic bottle of chemicals.
Compost tea is the gold standard of DIY fertilizers. Steep finished compost in water for 24-48 hours (a ratio of roughly one part compost to five parts water works well), strain out the solids, and you’ve got a nutrient-rich liquid perfect for monthly feeding. It’s especially great for flowering containers and vegetables during active growth. The microorganisms in the tea also support soil health, which commercial fertilizers can’t replicate.
Worm castings are nutrient powerhouses without the burn risk. Mix a handful into your potting soil at planting time, or steep them like compost tea for a gentle liquid feed. They work beautifully for sensitive plants and seedlings that would wilt at the sight of concentrated fertilizer.
Here’s a quick rundown of kitchen-scrap fertilizers you can start using this week:
- Coffee grounds: Mix dried grounds into soil for acid-loving plants like azaleas and ferns, or add to compost, use sparingly to avoid nitrogen lockup.
- Banana peels: Chop and bury in the top inch of soil for a slow-release potassium boost, ideal for blooming and fruiting plants.
- Eggshells: Rinse, dry, crush finely, and sprinkle around plants for calcium, helps prevent blossom end rot in tomatoes and peppers.
- Fish emulsion: Dilute according to package directions (homemade versions smell memorable) and apply monthly for a nitrogen-rich feed that leafy greens adore.
The beauty of these options is flexibility. You can combine them, eggshells in the soil, banana peel buried mid-season, compost tea every few weeks, to create a custom feeding program that matches your container garden’s rhythm. Just remember that DIY fertilizers release nutrients more slowly than synthetic products, so patience pays off. Your plants might not explode with growth overnight, but they’ll build stronger, healthier root systems that support long-term vitality. And honestly, knowing your thriving basil is powered by last week’s coffee? That’s the kind of gardening magic that never gets old.
Common Container Fertilizing Mistakes (And How to Avoid Them)
We’ve all been there, standing over a sad-looking plant, wondering if more food might perk it up, only to accidentally turn it into a crispy, over-fertilized disaster. Container plant feeding mistakes are common, but the good news is they’re easy to fix once you know what to watch for.
The biggest culprit? Over-feeding. When you’re excited about helping your plants thrive, it’s tempting to think more fertilizer equals faster growth. In reality, excess nutrients build up in the limited soil volume, burning roots and causing brown leaf tips, wilted foliage, and crusty white deposits on the soil surface. Always stick to package directions, and when in doubt, dilute more than recommended. Your plants would rather be slightly underfed than overwhelmed.
Another classic mistake is fertilizing bone-dry soil. Applying nutrients to parched roots is like rubbing salt in a wound, literally. The concentrated solution shocks the roots and causes chemical burns. Remember the golden rule from Step 4: water first, feed second, then water again lightly. This three-part rhythm protects your plants every time.
Ignoring plant-specific needs trips up even experienced gardeners. Feeding your cactus the same high-nitrogen formula you use for your tomatoes will give you a bloated, weak succulent prone to rot. Flowering plants need phosphorus, foliage plants want nitrogen, and Mediterranean herbs prefer lean conditions. Match the fertilizer to the plant, not the other way around.
Fertilizing dormant plants wastes product and stresses them. When your outdoor containers are resting in winter or your houseplants have slowed their growth, they’re not actively building new tissue and can’t use the nutrients you’re offering. Wait until you see new growth signals before resuming feeding.
Finally, don’t forget about using the wrong formulation entirely. Granular fertilizers designed for garden beds often release too slowly for containers, while products meant for hydroponics might be too concentrated. Read labels carefully, choose container-specific products when possible, and you’ll avoid most headaches before they start.
Frequently Asked Questions
Can you actually over-fertilize container plants?
Absolutely, and it happens more often than you’d think. Too much fertilizer causes salt buildup in the soil, leading to burnt leaf tips, wilting, and stunted growth, ironically making your plants look worse than if you’d never fed them at all.
Is organic fertilizer better than synthetic for containers?
Neither is inherently better, it depends on your goals. Organic options like compost or fish emulsion release nutrients slowly and improve soil structure, while synthetic fertilizers provide precise, immediate nutrition that’s easier to control in small pots.
Do succulents and cacti need fertilizer?
Yes, but sparingly. Feed them with a diluted, low-nitrogen fertilizer once or twice during their growing season (spring and summer), then leave them alone for the rest of the year, they’re adapted to nutrient-poor environments and will get leggy if overfed.
How should I fertilize herbs I plan to eat?
Stick with organic fertilizers labeled safe for edibles, and stop feeding about two weeks before harvest to avoid any residue on leaves. A gentle fish emulsion or compost tea works beautifully without affecting flavor.
What do I do if I’ve accidentally over-fertilized?
Flush the container thoroughly by running water through the soil for several minutes, letting it drain completely, then repeat. This washes out excess salts, and most plants will recover if you catch it quickly and return to a lighter feeding schedule.
Should I fertilize newly potted plants right away?
Hold off for at least three to four weeks. Fresh potting mix already contains nutrients, and transplanting stresses roots, give your plant time to settle in before adding fertilizer to the mix.
These questions come up constantly in gardening circles, usually right after someone notices their prize petunia looking a bit crispy around the edges. The truth is, container fertilization feels mysterious until you’ve done it a few times and learned to read your plants’ signals. Start conservatively, pay attention to how your specific plants respond, and adjust from there. Your containers will tell you what they need if you’re willing to listen, and that conversation between gardener and plant is half the joy of this whole endeavor.
You’ve got this. Fertilizing container plants isn’t about perfect precision or complicated science, it’s about paying attention, starting gently, and adjusting as you watch your plants respond. Water first, feed with a light hand, and let your plants tell you what they need through their growth, color, and vigor.
Begin with a simple schedule matched to your plants’ growing season. Mix your fertilizer at half-strength if you’re nervous (you can always increase it), and mark feeding days on your calendar until it becomes second nature. The beauty of container gardening is that you’re working with a manageable scale where small tweaks make visible differences quickly.
As you settle into your fertilization routine, you’ll start recognizing the subtle signals your plants send, the deep green of well-fed leaves, the abundance of blooms on properly nourished flowers, the robust stems that come from balanced nutrition. That connection between your care and their thriving growth? That’s the real reward.
Your container garden is a living canvas that responds to your attention and creativity. Whether you’re growing herbs on a balcony or creating a patio oasis, proper feeding transforms good plants into spectacular ones. Ready to explore more ways to make your containers shine? Check out our other container gardening projects and discover new ideas to bring your green space to life.
