
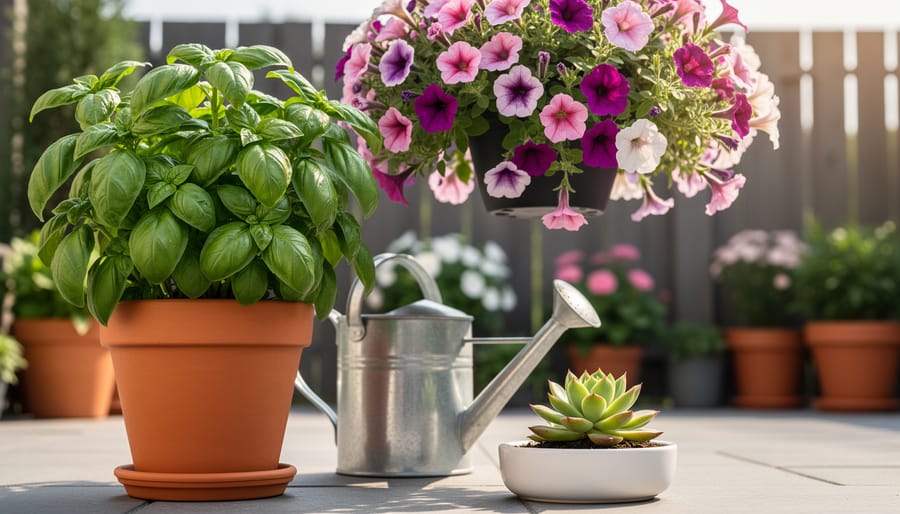
How to Fertilize Container Plants (and Keep Them Thriving All Season)
Fertilizing container plants requires more frequent feeding than in-ground gardens because nutrients wash out with every watering. A balanced, water-soluble fertilizer applied every two to three weeks during the growing season keeps potted plants thriving, though slow-release granules can extend that window to six or eight weeks for busy gardeners.
Here’s why container gardening works so differently: those gorgeous pots don’t have access to the vast nutrient reserves hiding in garden soil. Every rain shower and irrigation session leaches a bit more fertilizer through the drainage holes, leaving your plants hungry even when they look lush. Tomatoes wilt. Petunias fade. Succulents sulk. The fix isn’t complicated, but it does demand consistency.
Most container gardeners either over-fertilize (hello, burnt leaf tips and salt buildup) or forget entirely until their basil starts looking anemic in mid-July. The sweet spot lies in understanding dilution rates, reading your plants’ actual needs instead of the calendar, and choosing a fertilizer formula that matches what you’re growing. Flowering annuals crave different ratios than leafy herbs, and feeding a cactus like a rose is a recipe for disaster.
This guide walks you through the tools, timing, and techniques that turn container feeding from guesswork into a simple routine. You’ll learn to spot deficiency symptoms early, avoid the rookie mistakes that waste money and harm roots, and keep every pot on your patio performing at its peak.
Why Container Plants Are Hungry Little Things
Think of your potted plants like teenagers living in studio apartments, they’ve got limited space, limited resources, and they’re constantly hungry. Unlike their in-ground cousins who can send roots wandering through the neighborhood soil buffet, container plants are stuck with whatever’s in their pot. And here’s the kicker: every time you water, nutrients leach from containers through those drainage holes you worked so hard to create. It’s like watching your grocery budget literally drain away.
In nature, soil is a living ecosystem teeming with organisms that break down organic matter and replenish nutrients. Your container? It’s more like a bachelor pad that needs regular restocking. The roots can’t forage beyond those four walls, they can’t tap into underground nutrient reserves, and they definitely can’t sweet-talk the earthworms into delivering compost. You’ll find more detailed container care strategies at https://gardeningknowhow.combut the basic truth remains simple: containers are closed systems.
The environmental upside? You’re creating efficient mini-ecosystems where every input matters and nothing goes to waste. When you fertilize containers correctly, you’re not just feeding plants, you’re becoming a master of small-scale ecology, learning to read your plants’ needs and respond precisely. It’s gardening with intention, minus the guesswork.
What You’ll Need to Feed Your Potted Friends
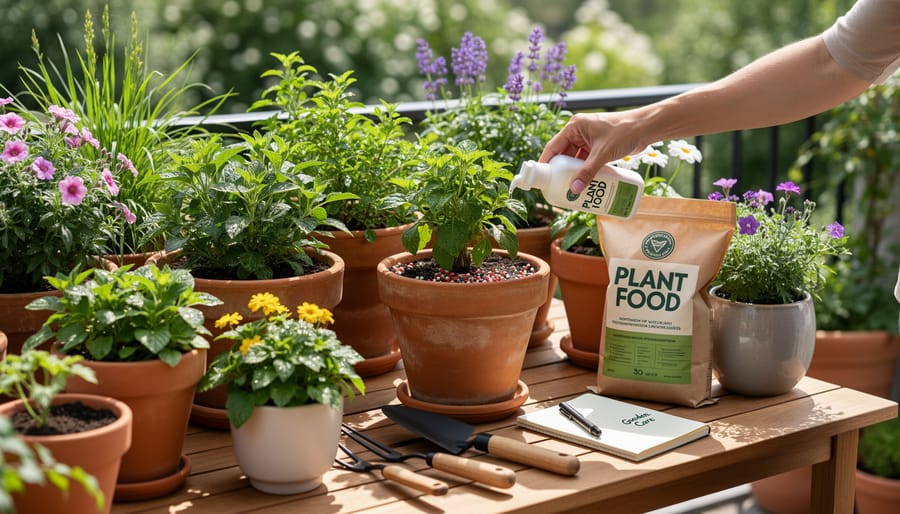
Good news: you don’t need a truckload of equipment to keep your container plants well-fed. Most of what you need is probably already hanging out in your shed or garage, and the rest you can pick up without breaking the bank.
Here’s your shopping list for successful container fertilizing:
- FertilizerChoose from liquid concentrate (mixes with water, fast-acting), granular (sprinkle-and-water-in style), or slow-release pellets (the set-it-and-forget-it option). Organic choices like fish emulsion or seaweed extract are gentle on the environment and your plants.
- Measuring toolsA tablespoon, measuring cup, or the cap from your fertilizer bottle works perfectly. Precision matters more than you’d think when preventing overfeeding.
- Watering can or hose attachmentYou’ll need this for pre-watering and rinsing nutrients into the soil. A watering wand with a gentle rose attachment is ideal for even distribution.
- Garden glovesProtect your hands from concentrated fertilizers, especially synthetic types. Plus, they make you look more professional.
- Journal or phone appTrack when you fertilize, what you use, and how plants respond. Future you will thank present you for this.
If you’re leaning toward eco-friendly options, consider starting a compost bin for homemade compost tea or picking up worm castings from your local garden center. These natural alternatives feed your plants while building healthy soil ecosystems. You can also repurpose kitchen scraps like banana peels and eggshells, though they take longer to break down than commercial products.
The beauty of container fertilizing is its flexibility. Start with what you have, try one fertilizer type that fits your routine, and expand from there as you learn what works best for your potted friends.
Fertilizer Types Decoded (Without the Chemistry Degree)
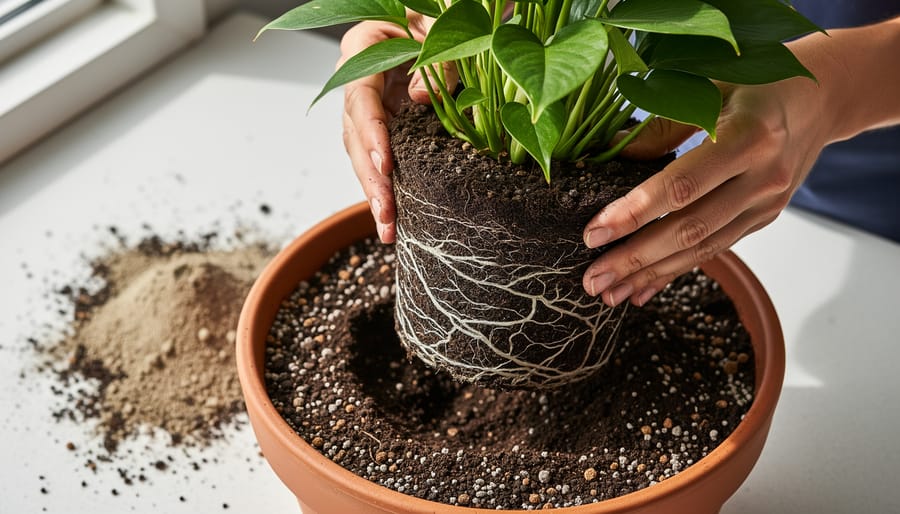
Walking into the fertilizer aisle can feel like you’ve stumbled into a chemistry lab. Those cryptic N-P-K numbers stare back at you like a secret code, but don’t worry, you won’t need a lab coat to crack this.
Those three numbers simply tell you the percentage of nitrogen (N), phosphorus (P), and potassium (K) in any fertilizer. Nitrogen fuels leafy green growth, think lush foliage. Phosphorus supports strong roots and flowering. Potassium boosts overall plant health and disease resistance. A balanced 10-10-10 works for most container plants, while a 5-10-10 suits flowering containers better. For herb container care something like 5-5-5 keeps growth steady without pushing too much leaf at the expense of flavor.
Liquid fertilizers are the fast food of plant nutrition, quick-acting and convenient. You mix them with water and apply every two to four weeks during the growing season. They give you precise control but require more frequent feeding.
Granular fertilizers are the slow-and-steady option. Sprinkle them on the soil surface, scratch them in lightly, and they release nutrients gradually as you water. They last four to six weeks typically, reducing how often you need to think about feeding.
Slow-release fertilizers are the set-it-and-forget-it champions. Those little coated pellets can feed your plants for three to six months. Perfect if you tend toward forgetfulness or have lots of containers to manage.
Now for the organic versus synthetic debate. Synthetic fertilizers deliver nutrients immediately in pure chemical form. Organic options like fish emulsion, kelp, or worm castings release nutrients more slowly while improving soil structure. They’re gentler on the environment and beneficial microbes, though they often smell like a barnyard adventure.
For the truly eco-conscious, compost tea is like brewing coffee for your plants, steep finished compost in water, strain, and apply. It adds nutrients plus beneficial microorganisms, giving your containers a living boost without any packaging waste.
Safety First: What Could Go Wrong (and How to Avoid It)
Good news: fertilizing container plants is safer than driving to the garden center to buy the fertilizer. But a few simple precautions will keep both you and your plants happy.
The biggest risk is over-fertilization, which causes fertilizer burn, those crispy brown leaf edges and yellowing that make your plants look like they’ve had a bad day at the beach. More is definitely not better here. Always follow package directions, and when in doubt, dilute to half-strength. Your plants would rather be slightly underfed than overfed.
Handle fertilizer products with basic care. Wear gloves if you have sensitive skin, and wash your hands thoroughly afterward. Store fertilizers in their original containers with labels intact, up high or locked away from curious pets and children. Many fertilizers smell or look surprisingly appealing to animals, and ingestion can cause serious illness.
Read the label every single time, even if you’ve used that product before. Application rates vary wildly between brands and formulations. What works for tomatoes might fry your ferns.
Finally, be mindful of runoff. When you water after fertilizing, excess nutrients can wash into storm drains and eventually into waterways, contributing to algae blooms and environmental problems. Apply only what plants can use, and consider catching runoff in saucers to prevent waste. It’s a small step that makes your container gardening practice more sustainable.
How to Fertilize Container Plants: Step-by-Step
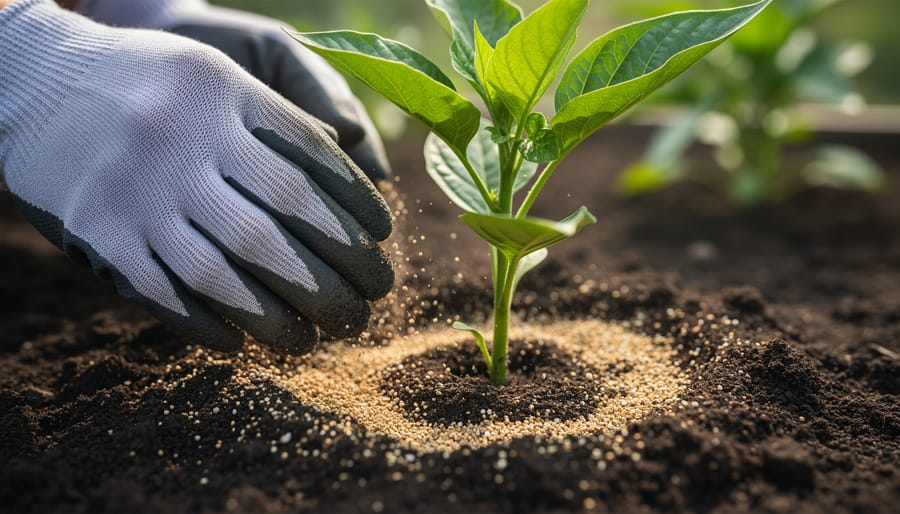
Step 1: Check Your Plant’s Appetite
Before you grab that fertilizer bottle, take a moment to actually look at your plant. Is it actively growing, pushing out new leaves, or preparing to bloom? That’s hungry behavior. Check for telltale signs of nutrient deficiency: pale or yellowing leaves (especially older ones), stunted growth, or fewer flowers than usual. If you just potted it with fresh soil in the past month, it’s probably still munching on those existing nutrients. Most container plants hit their hungry phase about 4-6 weeks after potting, then need regular feeding through their growing season. Think of it like checking if your teenager raided the fridge, are there signs they need more?
Step 2: Water First (Yes, Really)
Think of your plant’s roots like a dry sponge, they’ll soak up the first thing you pour on them with alarming enthusiasm. If that first thing happens to be concentrated fertilizer, you’ve just given those tender root tips a chemical burn. Not ideal.
That’s why you water lightly first. You want the soil just moist, not soggy. This creates a buffer zone that helps fertilizer distribute evenly instead of concentrating in hot spots. It’s like diluting orange juice, you’re making sure the nutrients spread gently throughout the root zone rather than shocking your plant with a blast of full-strength plant food.
Step 3: Mix It Right
Mixing fertilizer isn’t rocket science, but it’s also not a “close enough” situation. Think of it like baking, too little and nothing happens, too much and things get scorched.
For liquid fertilizers, always start with clean water in your watering can. Read the label (I know, reading instructions feels optional, but trust me here). Most liquids call for about 1 tablespoon per gallon, but some are concentrated differently. When in doubt, go weaker rather than stronger, half-strength works great for most container plants and it’s nearly impossible to mess up.
Granular fertilizers? Sprinkle them evenly across the soil surface, staying an inch away from stems. A teaspoon per 6-inch pot is a solid starting point for most products.
Slow-release pellets are the lazy gardener’s friend, just press them gently into the top inch of soil according to package rates. They’ll do their thing over weeks or months, no math required beyond the initial application.
Step 4: Apply with Care
Now comes the fun part, actually feeding your plants. Pour the diluted fertilizer slowly around the outer edge of the pot, working your way in a circle about an inch from the rim. Think of it like serving soup: you want to reach all the roots without splashing it on anyone’s face. Avoid dumping fertilizer directly onto the plant’s stem or leaves, which can cause burns or spotting. For larger containers, imagine dividing the surface into quarters and pour a bit in each section to ensure even coverage. If you’re using a watering can without a rose attachment, pour extra slowly, the gentler the better. Your plants will drink it up evenly, and you’ll avoid creating nutrient hot spots that could overwhelm some roots while starving others.
Step 5: Water It In (The Follow-Up)
After applying your fertilizer, give your plant another gentle drink, think of it as a chaser that helps everything settle in nicely. This follow-up watering distributes nutrients evenly through the soil and prevents concentrated pockets that could burn roots. You don’t need to drench the pot again; just enough water to moisten the top few inches and carry the fertilizer down to where roots can actually use it. Wait about 15-20 minutes after fertilizing before this second watering, giving liquid fertilizers time to make initial contact with the soil. For slow-release granules, this step is especially important since it activates the coating and starts the nutrient release process.
Step 6: Note It Down
I know, I know, another thing to write down when you’d rather just be gardening. But trust me, jotting down “Fed tomatoes, liquid 10-10-10, July 26” takes thirty seconds and saves hours of head-scratching later when you’re wondering why your petunias suddenly look sulky. Note the date, what you used, and how your plants responded over the next week. Think of it as your plant’s Instagram story, minus the filters. When something goes brilliantly (or disastrously) wrong, you’ll have the receipts to figure out why and adjust accordingly.
Getting the Timing Right: When and How Often
Timing is everything, and your container plants are basically running on a seasonal schedule, like bears, but with better manners about hibernation.
During the active growing season (spring through early fall), most container plants are hungry and ready to party. Feed them every two to four weeks with liquid fertilizer, or apply slow-release granules at the start of the season and refresh mid-summer. Think of it as their power-up period when they’re actively producing leaves, stems, and flowers.
Come late fall and winter, most plants shift into dormancy or drastically slow their growth. This is not the time for fertilizer, it’s like force-feeding someone who’s trying to sleep. Cut back to monthly feeding or stop entirely until you see new growth signals in spring. Overfeeding during dormancy wastes fertilizer, can damage roots, and contributes to nutrient runoff that impacts local waterways.
Time of day matters too. Early morning is ideal, cooler temperatures mean less evaporation and stress on roots. Avoid the midday heat when roots are already working hard to stay hydrated.
Different plant types have different appetites. Heavy feeders like tomatoes and flowering annuals need that every-two-weeks schedule. Herbs and slower-growing plants can go three to four weeks. Cacti and succulents might only need feeding monthly during their growing season.
Set phone reminders or create a simple calendar system, “First Saturday of the month” is easier to remember than random dates. Some gardeners tie feeding to other routines, like payday or grocery shopping. The best schedule is one you’ll actually follow, creating a sustainable rhythm that keeps plants thriving without overdoing it.
How to Tell It’s Working (Verification and Troubleshooting)
Your plants will tell you if your fertilizing routine is hitting the mark, you just need to know what to look for. Healthy, well-fed container plants show steady new growth, vibrant leaf color (deep greens for foliage plants, no yellowing between veins), and abundant flowering or fruiting if that’s their thing. The stems should feel firm, leaves should be perky, and overall the plant should look like it’s thriving, not just surviving. This is especially rewarding in small space gardening where every container counts.
Now for the warning signs. Yellowing leaves (especially older ones first) often mean you’re under-feeding or the nutrients are getting flushed out too quickly. Burnt, crispy leaf edges or tips? That’s the plant equivalent of saying “too much, too fast”, classic over-fertilization. If you’re seeing tons of lush green foliage but zero flowers, you might be giving too much nitrogen and not enough phosphorus. Leggy, weak growth despite regular feeding suggests your fertilizer might not match your plant’s needs.
If you’ve over-fertilized, don’t panic. Flush the soil thoroughly with plain water (let it run through several times), then hold off on fertilizing for a few weeks. Trim any badly damaged leaves. The plant will usually recover. If problems persist despite adjusting frequency, consider switching fertilizer types, maybe from synthetic to organic, or from high-nitrogen to balanced. Sometimes a fresh approach makes all the difference, and your plants will reward your attention with renewed vigor.
Common Questions About Container Fertilizing
Can I use regular garden fertilizer for my container plants?
You can, but it’s not ideal. Garden fertilizers are formulated for slower nutrient release in ground soil, while containers need more frequent feeding at lower concentrations. If you’re using garden fertilizer, cut the recommended strength in half and apply more often.
Should I fertilize plants right after potting them?
Hold off for at least three to four weeks. Fresh potting mix usually contains enough nutrients to get plants started, and their roots need time to settle in before you start feeding them. Fertilizing too soon can stress transplants.
Can I go fully organic with container fertilizing?
Absolutely! Fish emulsion, seaweed extract, compost tea, and worm castings all work beautifully for containers. Organic options release nutrients more slowly and improve soil health, though you might fertilize slightly more often than with synthetic formulas.
Do cacti and succulents need different fertilizing?
Yes, they’re light feeders that prefer diluted fertilizer applied less frequently, usually just during their active growing season. Use a specialized cactus formula or dilute regular fertilizer to quarter strength, and skip year-round feeding since these plants go dormant in winter.
Can I make my own container fertilizer at home?
You certainly can! Compost tea, banana peel water, and diluted worm casting liquid are popular DIY options. They won’t have precise NPK ratios like commercial products, but they’re gentle, eco-friendly, and great for organic gardeners on a budget.
These questions come up constantly in gardening circles, and the answers are simpler than you might think. The key takeaway is that container plants aren’t complicated, they just need a lighter touch and more attention than their in-ground cousins. Once you understand the basics, you’ll develop a rhythm that works for your specific plants and schedule. Don’t stress about getting it perfect from day one. Watch how your plants respond, adjust accordingly, and remember that even experienced gardeners sometimes kill a fern or two while figuring things out.
See? Container fertilizing isn’t some dark art requiring a chemistry degree and a crystal ball. It’s just understanding what your plants need, giving it to them consistently, and paying attention to how they respond. Start with whatever fertilizer you have on hand, follow the directions (or go a bit lighter if you’re nervous), and watch what happens. Your tropical container plants might perk up within days, while slower growers take their sweet time showing appreciation.
The real secret? There isn’t one. Feed regularly during the growing season, ease off when they’re resting, and don’t stress if you miss a week. Container gardening should spark joy, not anxiety. Your plants won’t hate you for being a little late with breakfast, and they’ll forgive the occasional scheduling hiccup far more easily than drowning in fertilizer they can’t use.
So grab that watering can, mix up some plant food, and give your green friends the boost they’re craving. They’ll reward you with lush growth, vibrant blooms, and that smug satisfaction of knowing you’ve cracked the code. Happy feeding!
