
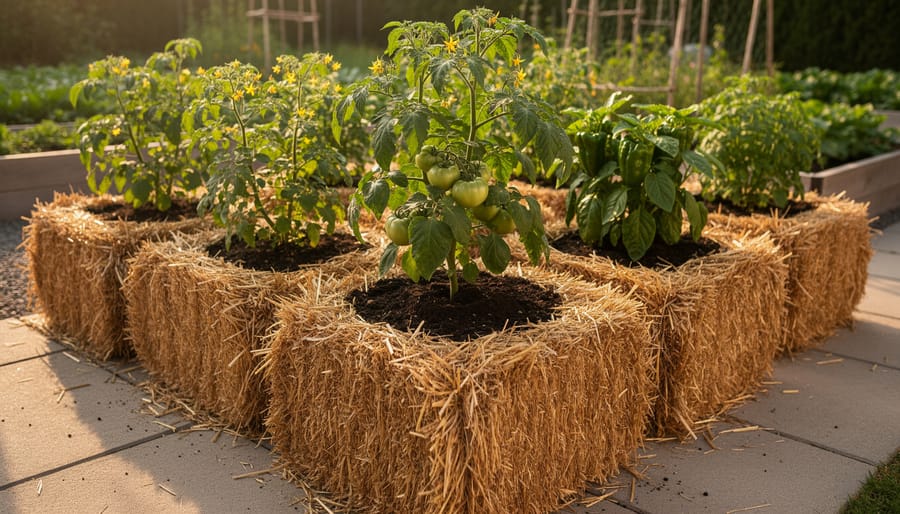
How to Start a Straw Bale Garden in 6 Easy Steps
Straw bale gardening transforms humble bales of straw into productive growing containers that eliminate tilling, weeding, and soil amendments while delivering excellent yields for vegetables, herbs, and flowers. You condition the bales over several days with water and nitrogen, plant directly into the decomposing straw, and enjoy a raised garden bed that lasts one full season before breaking down into compost-ready mulch. This method is perfect for gardeners dealing with poor soil, limited mobility, or those who want to garden in small spaces like patios and driveways.
The beauty of straw bale gardening lies in its simplicity and accessibility. Unlike traditional in-ground beds, you’re not fighting clay, rocks, or contaminated soil. The bales heat up as they decompose, extending your growing season and creating an ideal environment for heat-loving crops like tomatoes and peppers. Plus, you’re gardening at waist height, which means less bending and kneeling (your back will thank you).
Think of it as composting in reverse. Instead of waiting for materials to break down before planting, you’re accelerating decomposition while your plants grow, feeding them with the nutrients released in the process. It’s a bit like giving your vegetables their own personal hot tub spa experience, complete with a steady stream of organic nutrients and excellent drainage.
The technique works brilliantly for renters, people with temporary spaces, or anyone who wants a no-commitment garden that can be set up in an afternoon and moved whenever needed. After harvest, those spent bales become premium mulch or compost for future projects.
What You’ll Need: Tools and Materials
Getting started with straw bale gardening doesn’t require a massive shopping list, but choosing the right materials from the start will save you headaches later. Think of this as your gathering-supplies phase before the fun begins, and trust me, getting this right means avoiding the classic “why are weeds taking over my bales?” rookie mistake.
First and most importantly: you need straw bales, not hay bales. Yes, they look similar at the garden center, but they’re completely different animals. Straw is the leftover stems from harvested grain crops, it’s hollow, golden, and essentially empty of seeds. Hay, on the other hand, is dried grass and plants grown specifically for livestock feed, which means it’s packed with hay and pasture weed seeds just waiting to sprout. Hay is also denser and breaks down differently, making it less ideal for growing vegetables. When you’re shopping, look for wheat, oat, or barley straw bales held together tightly with twine. Avoid any bales from crops treated with herbicides during production, those chemicals can linger and harm your plants.
Here’s what you’ll actually need:
- Straw bales (wheat, oat, or barley straw) bound with twine, plan one bale per 2-3 plants
- Thick layers of newspaper for weed control underneath your bales
- Garden trowel or dibber for creating planting holes
- Watering can or hose with gentle spray nozzle
- Work gloves to protect your hands from scratchy straw
- Organic fertilizer for the conditioning process
- Seeds or transplants of your chosen vegetables and flowers
The beauty of this method is its simplicity. You don’t need raised bed lumber, premium soil, or fancy containers. Just bales, some basic tools you probably already own, and you’re ready to create a garden where none existed before.
Before You Begin: Important Considerations
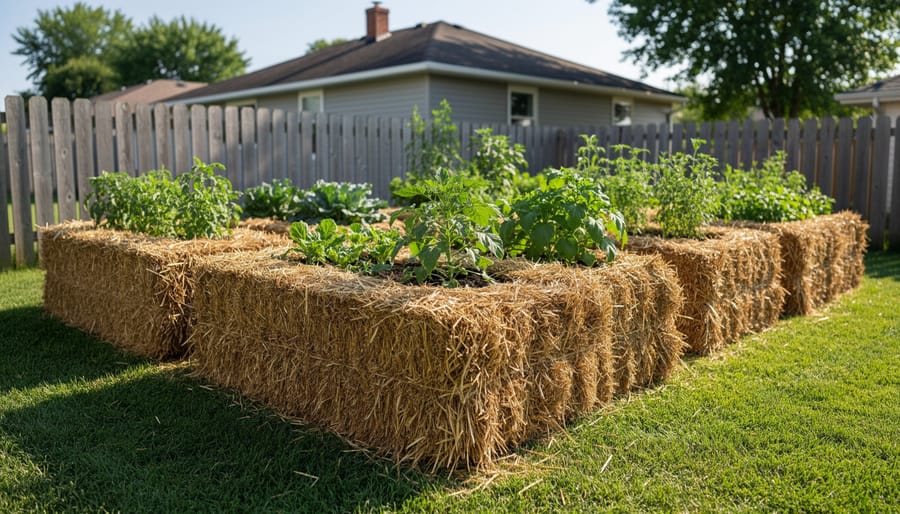
Before you rush out to grab those beautiful golden bales, let’s talk about a few things that will save you from garden heartbreak (and a potential backache). Getting these details right before you start makes the difference between a thriving straw bale garden and a frustrating science experiment gone wrong.
First up: sunshine is your best friend here. Your straw bale garden needs at least six to eight hours of direct sun each day, so scout your yard carefully. That shady corner under the oak tree might look charming, but your tomatoes won’t agree. Walk around your space at different times of day, observe the light patterns, and choose the sunniest real estate you’ve got.
This isn’t just about convenience. Moving a saturated bale requires either superhuman strength or a very patient friend with a wheelbarrow, and by then you’ve already started the conditioning process. Pick your spot, commit to it, and double-check that it’s truly the best location.
If you’re placing bales directly on the ground (rather than on a patio or driveway), lay down thick layers of newspaper underneath first. This creates a barrier that stops weeds from pushing up through the bottom of your bales, which absolutely will happen if you skip this step. Think of it as weed insurance.
Finally, a word about lifting: straw bales are deceptively heavy even when dry, typically weighing 40 to 50 pounds. Use proper lifting technique (bend those knees, engage your core), or better yet, ask for help. Starting a garden shouldn’t land you in physical therapy.
Step-by-Step: Building Your Straw Bale Garden
Step 1: Choose Your Location and Prep the Site
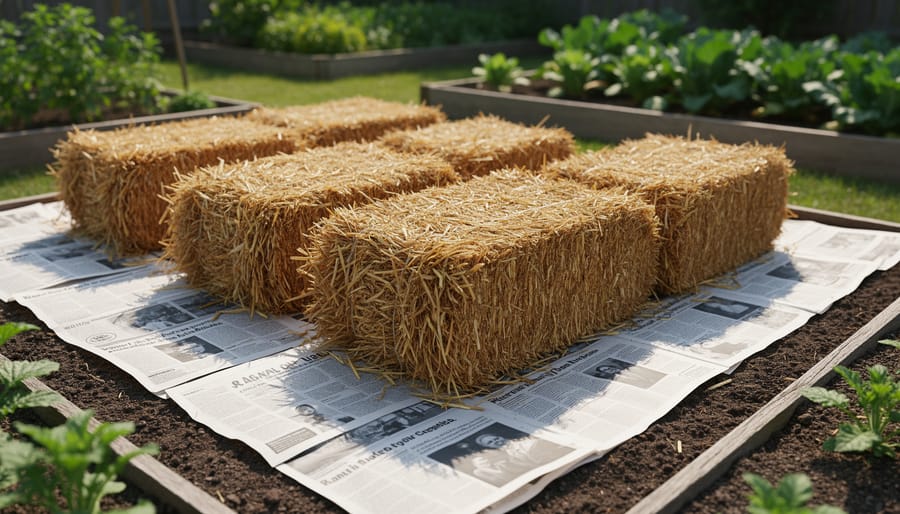
Pick the brightest, sunniest spot in your yard, straw bale gardens thrive on six to eight hours of direct sun. Walk around your property at different times of day to see where the light lingers longest. Avoid shady corners or places tucked under trees, no matter how convenient they seem. Remember, once you water those bales, they’ll weigh as much as a small bear and become nearly impossible to move, so get the location right the first time.
Before you bring in the bales, prep the ground underneath with a thick blanket of newspaper, six to ten sheets deep works well. This newspaper barrier stops weeds from sneaking up through the bale bottoms and crashing your garden party. Overlap the sheets generously and wet them down so they stay in place. It’s a simple step that saves you from wrestling with persistent weeds all season, and it adds a satisfying arts-and-crafts moment to your setup day.
Step 2: Position Your Bales Correctly
Orientation matters more than you might think when setting up your straw bale garden. The golden rule: position each bale so the twine runs along the sides (not across the top or bottom) and the cut ends of the straw face upward. This setup is crucial because those cut ends create vertical channels that allow roots to penetrate downward easily, while the twine maintains structural integrity as the bale breaks down over the season.
Think of it like preparing a planting bed with built-in drainage, you’re working with the straw’s natural structure, not against it. If you flip a bale the wrong way with strings on top, you’ll struggle to plant anything successfully, and the bale may fall apart prematurely.
For arrangement, consider your garden’s aesthetics and function. A single row works perfectly along a fence or walkway, while a U-shape creates an intimate veggie nook with easy access from three sides. Double rows separated by a narrow path maximize space in small yards. Just remember: once you water these bales in the next steps, they’re staying put, so take a moment to envision your layout before committing. A little planning now saves backache later.
Step 3: Condition Your Bales
Conditioning is where the magic happens, this is when you transform a compact block of straw into a living, nutrient-rich growing medium. Think of it as pre-digesting your garden bed. The process involves adding nitrogen and moisture to kickstart decomposition inside the bale, creating the warm, crumbly environment plant roots love.
You’ll be watering and feeding your bales over a period of days to wake up the natural breakdown process. The straw begins to compost from the inside out, generating heat as beneficial microbes get to work. Don’t panic when your bales feel warm to the touch, that’s exactly what you want. This internal composting creates the perfect planting pocket while the outer structure still holds everything together.
The conditioning routine involves alternating between plain water and nitrogen-rich amendments. Organic options like blood meal, fish emulsion, or even lawn fertilizer can fuel the decomposition. You’re essentially coaching the straw through its transformation, checking daily to ensure it stays moist but not waterlogged.
How do you know when conditioning is complete? The bales will feel softer when you press down on top, the interior temperature will have peaked and cooled, and you should be able to easily push your finger several inches into the planting surface. When the straw pulls apart without resistance and smells earthy rather than fresh and grassy, you’re ready to plant.
Step 4: Plant Your Garden
Once your bales are conditioned and ready, it’s time for the fun part: actually planting. The beauty of straw bale gardening is that you’re working with a flexible growing medium, so you have options depending on what you’re growing.
For transplants like tomatoes, peppers, or flowers, use a trowel to create a pocket in the top of the bale, then nestle the root ball into the opening. Press the straw around the roots to hold the plant steady. Aim for spacing similar to what you’d use with the square foot method keeping plants far enough apart that they won’t crowd each other as they mature.
For seeds like lettuce, beans, or carrots, sprinkle a thin layer of potting soil or compost across the planting area to give seeds a cozy spot to nestle. Plant seeds at their recommended depth, gently pressing them into the straw surface.
What grows best? Tomatoes, peppers, squash, cucumbers, and leafy greens all thrive in straw bales. Root vegetables can work too, though they may need deeper pockets carved out. Think vertical when possible, vining plants love climbing up stakes anchored into the bales, turning your garden into a creative, space-saving masterpiece.
Step 5: Maintain and Nurture
Your straw bale garden won’t thrive on autopilot, it needs your attention, but not in a fussy, regimented way. Think of it as a conversation rather than a checklist.
Check your bales regularly, especially during hot weather. Straw dries out faster than traditional soil, so you’ll likely water more often than you’re used to. Stick your finger deep into the bale; if it feels dry past the first couple inches, it’s time to water. Soak thoroughly until water runs from the bottom, surface sprinkling won’t cut it.
Feed your plants throughout the growing season. Because straw breaks down gradually and starts with minimal nutrients, your vegetables and flowers will appreciate regular fertilizing. A balanced, water-soluble fertilizer works beautifully, though you can also use compost tea or fish emulsion if you prefer organic options.
Watch for shifts in the bale structure. As the straw decomposes, it may settle or develop gaps. Top off with compost or straw as needed to maintain a stable growing surface. Your bales are living ecosystems, expect them to change, and respond with flexibility rather than alarm.
How to Know Your Garden Is Thriving
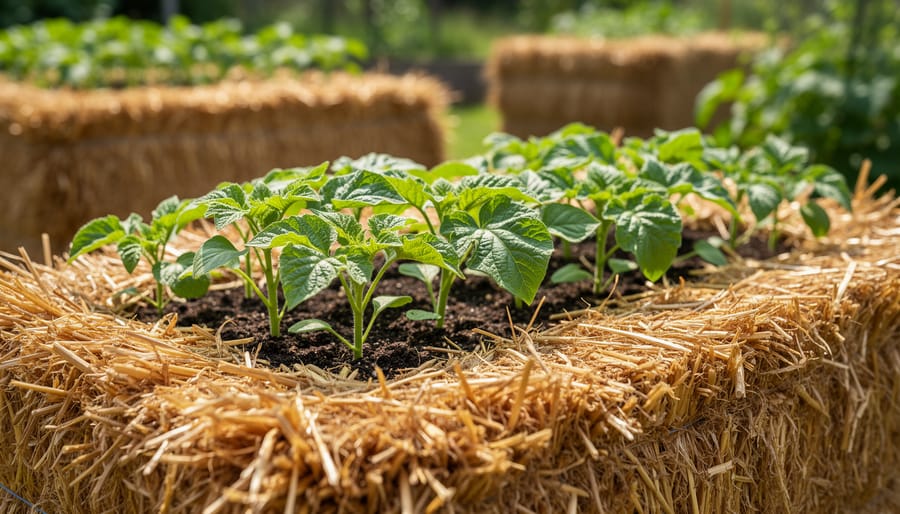
Once your bales are conditioned and planted, knowing whether everything is working properly saves you from second-guessing yourself. A thriving straw bale garden sends clear signals, and learning to read them turns you into a confident gardener rather than a worried one.
Start by checking the bale itself. Press your hand into the planting surface where you’ve created pockets for seeds or transplants. The straw should feel noticeably softer than when you started, almost spongy, with some warmth radiating from the interior. This warmth indicates the decomposition process is active, creating the nutrient-rich environment your plants need. If the bale still feels cold and firm like fresh straw, conditioning needs more time before you plant.
Healthy seedlings emerge within the typical germination window for whatever you’ve planted. If you’re starting from transplants, look for new leaf growth within a week or two, which signals the roots have moved beyond transplant shock and begun exploring their new home. Leaves should appear vibrant, not yellowed or wilting by midday. Ordering quality seeds from the best seed catalogs gives you a head start on strong germination rates.
Gently tug on a plant stem near the base. Established plants resist the pull because roots have anchored into the decomposing straw. If plants lift out easily after two weeks, they haven’t rooted properly, suggesting either the bale wasn’t conditioned enough or you’re overwatering and washing away the developing root system.
Watch moisture levels without obsessing. The surface of a well-watered bale appears damp but not soaked, and when you push your finger in a few inches, you should feel consistent moisture without standing water. Straw bales drain quickly, which is usually good, but in hot weather you’ll water more frequently than traditional gardens.
Your Straw Bale Garden Questions Answered
Let’s tackle the questions that pop up once you’re knee-deep in straw and wondering what you’ve gotten yourself into.
Can I just use hay bales instead of straw?
Skip the hay. Hay contains weed seeds that’ll turn your garden into a chaotic meadow, and it’s usually too dense to break down properly for planting.
What do I do with the bales after the growing season?
Those decomposed bales become incredible compost for your garden beds. By season’s end, you’ve essentially grown plants while creating soil amendment, talk about multitasking.
Can I reuse my straw bales next year?
Not really. After one season, the bales break down into nutrient-rich compost, which is actually the plan. Think of them as temporary raised beds that gift you beautiful soil when they’re done.
What crops work best for straw bale beginners?
Tomatoes, peppers, cucumbers, and squash thrive in straw bales. Leafy greens and herbs also do wonderfully, giving you plenty of options for your first experiment.
The environmental angle here is genuinely compelling. You’re avoiding soil disturbance, creating zero-waste compost, and turning agricultural byproduct into productive garden space. If your wheat or oat straw wasn’t treated with herbicides during production, you’re working with a completely natural system that feeds back into itself. The bales themselves become the next season’s soil amendment, closing the loop in a way that feels both practical and almost poetic.
This method also sidesteps many conventional gardening headaches. No tilling heavy clay, no raised bed construction, no importing truckloads of topsoil. You’re literally starting from scratch (or straw, as it were) and letting decomposition do the heavy lifting. The humor and art of gardening shine through when you realize you’re essentially composting and growing simultaneously, your garden is both the garden and the compost pile. That’s efficiency with a creative twist.
So there you have it, your complete roadmap to starting a straw bale garden. What makes this method so special isn’t just its practicality for challenging spaces or poor soil. It’s the sheer creative freedom it offers. You’re essentially building your garden from scratch, quite literally bale by bale, transforming simple bundles of straw into thriving ecosystems. There’s something beautifully rebellious about bypassing traditional garden beds entirely.
Straw bale gardening embodies the DIY spirit that makes gardening such a joy. It welcomes experimentation, forgives mistakes (those bales will compost eventually anyway), and rewards your willingness to try something unconventional. Plus, you get to tell people you’re growing tomatoes in straw, which never fails to spark interesting conversations at neighborhood gatherings.
As you head into your growing season, remember that gardening has always been equal parts science and art, with a healthy dose of humor when things don’t go exactly as planned. Your first straw bale garden might be a learning experience, or it might be your new favorite growing method for years to come.
The best time to start something new in your garden? Right now. Grab those bales, find your sunniest spot, and see where this adventure takes you. Your vegetables are waiting.
