How to Build a DIY Greenhouse (+ Tips to Make It Last)
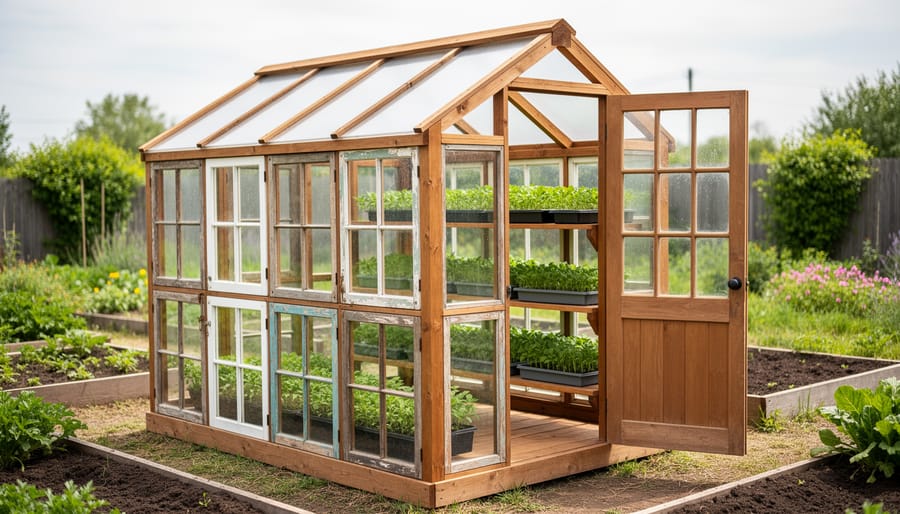
You can build a working DIY greenhouse in a single weekend for a few hundred dollars, and the budget version often costs far less. The method is simple: pick a style that fits your space, frame it with lumber or reclaimed windows, cover it with polycarbonate panels or greenhouse film, and add vents so your seedlings don’t cook on the first sunny afternoon. Basic carpentry skills and a free Saturday will get you there. Difficulty sits at beginner to intermediate, and the only real prerequisite is a level, sunny spot.
Why bother? A greenhouse stretches your growing season by weeks on both ends, shelters tender plants from surprise frosts, and turns that pile of old window sashes in the garage into something beautiful. It’s also a gentle win for the planet, since upcycled materials mean less waste and a smaller footprint than any kit shipped across the country.
The good news is that most greenhouse disasters are completely avoidable. Poor siting, skimpy airflow, and flimsy anchoring cause nearly all of them, and none of those require special talent to fix. Below, you’ll find a realistic materials list, safety pointers, clear build steps, and a few tricks to keep your tomatoes happy and your wallet fuller. Grab your tape measure. Your plants are already excited.
Picking the Right Greenhouse for Your Space and Skill Level
Finding the Sunniest, Most Sheltered Spot
Before you drive a single stake into the ground, spend a day watching your yard like a nosy neighbor. Most vegetables want six to eight hours of direct light, and a spot that gets full sun in July can sit in shade come winter, so look at where the sun lands in the season you’ll actually use the greenhouse. If you’re unsure how light changes a planting, this guide on sun vs shade is a handy refresher.
Next, check for shelter. A south-facing spot tucked behind a fence, hedge, or the side of your house blocks cold wind without stealing light. Skip the bottom of a slope, where cold air and puddles gather.
Finally, look for ground that’s naturally level and drains well, since leveling takes real effort. Park it within hose or rain barrel reach, too. Your future self, carrying watering cans in July, will thank you.
Tools and Materials to Gather (and Where to Score Them Secondhand)
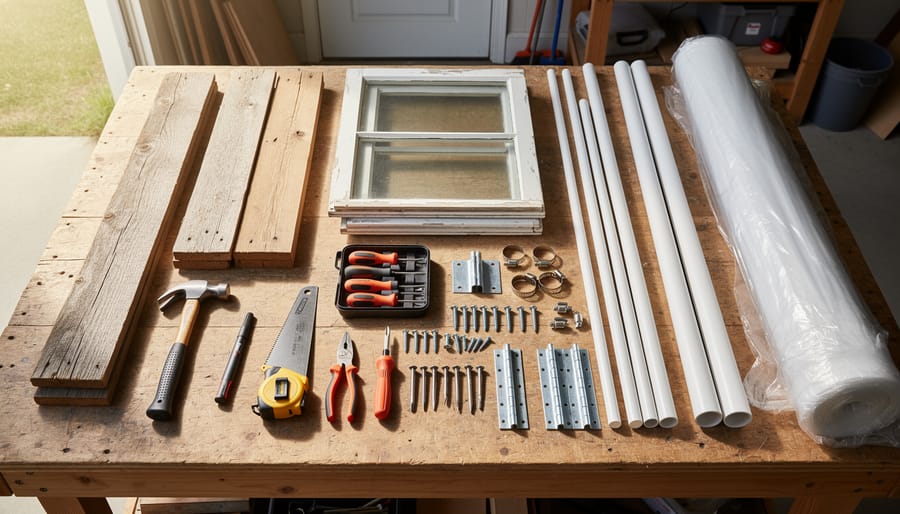
Before you hit the hardware store, do a little treasure hunting. Greenhouses are famously forgiving of mismatched, secondhand parts, and your wallet (and the planet) will thank you. Here’s the basic kit for a frame-and-cover build:
- Cordless drill and a set of bits, borrowed from a neighbor or tool library if you don’t own one.
- Level and tape measure, because wonky greenhouses are charming only until the door won’t close.
- Handsaw or circular saw for cutting lumber and PVC pipe.
- A few clamps to hold things steady while you fasten them.
- Lumber or PVC pipe for the frame; pallets, fence boards, and reclaimed 2x4s work beautifully.
- Exterior screws, brackets, and zip ties, which are cheap new and often free in a salvage bin.
- Covering such as polycarbonate panels, greenhouse film, or old windows (more on that below).
- Hinges and a latch for the door, which can come from a salvaged gate or cabinet.
- Base materials like gravel, concrete blocks, or treated timber to keep the frame off damp soil.
For secondhand scores, check community marketplace listings, local buy-nothing groups, building salvage yards, and renovation dumpsters (always ask first). Old windows turn up constantly when neighbors upgrade, and pallets are usually free behind garden centers and shops. Just give reclaimed wood a quick check for rot, and skip anything that smells strongly of chemicals.
Choosing a covering is simpler than it sounds. Old glass windows are free-ish, pretty, and hold heat well, but they’re heavy and breakable. Polycarbonate panels are lightweight, tough, and insulating, which makes them a sturdy long-term pick. Greenhouse film is the budget champ and perfect for hoop houses, though it needs replacing every few years. Pick the one that matches your frame, and your frame will tell you what it can carry.
Safety Warnings Before You Start Building
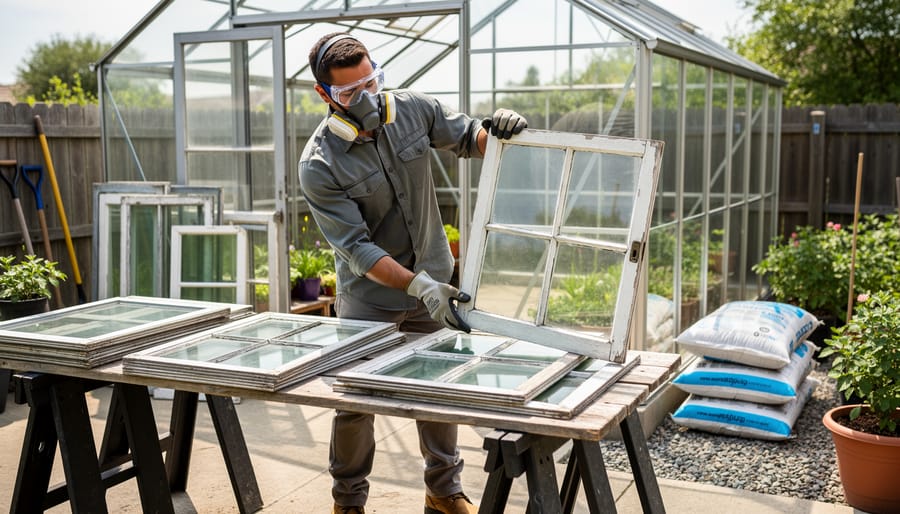
A greenhouse is a happy project, but a few ground rules keep it that way. Think of this as the “measure twice, cut once” chat before the fun starts.
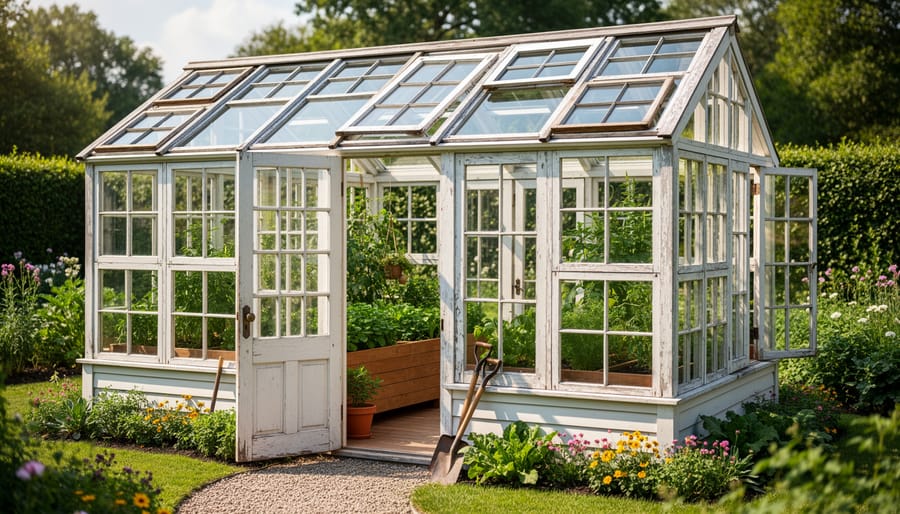
Start with the glass. Old windows are gorgeous and very upcycle-friendly, yet they can be sharp, brittle, and heavier than they look. Wear sturdy gloves and safety glasses whenever you’re handling or cutting panels, and set cracked panes aside rather than hoping they’ll hold.
Next, mind your body. Get a helper for big panes and long lumber, bend at the knees, and use a sturdy ladder on flat ground when you’re working on the roofline. If something feels too heavy, it probably is.
Reclaimed wood deserves a once-over too. Look for soft, crumbly spots that signal rot, old paint you can’t identify, and any chemical-treated lumber you wouldn’t want near your veggie beds.
Before you dig post holes or trenches, call your local utility-locating service. Buried lines are free to avoid and expensive to hit.
Wind is the sneaky one. Anchor your frame with ground stakes, buried posts, or heavy bases so a gusty afternoon doesn’t turn your greenhouse into a kite.
Finally, know when to pause. If your area requires a permit, or you have doubts about how sturdy a larger structure is, check with your local building office or a pro. A quick call beats a do-over.
Step-by-Step: Building Your Greenhouse from Base to Door
Time to get your hands dirty. Don’t worry if you’ve never built anything bigger than a birdhouse. A greenhouse is really just a sturdy box with a clear lid, and you can build it one small win at a time. Grab a helper, queue up a good playlist, and work through these steps in order.
- Mark out the footprint. Pound in stakes at each corner and run string between them. Tip: measure the diagonals, and if they match, your rectangle is square.
- Clear and level the ground. Remove sod and rocks, then check with a long board and a level. Tip: compost that sod instead of tossing it, and your future veggie beds will thank you.
- Build the base. Screw together a frame of rot-resistant lumber, or set concrete blocks at the corners, and anchor it with rebar stakes or ground anchors. Tip: a solid base keeps your whole greenhouse from taking off in the first big gust.
- Assemble the frame. Raise the walls and roof ribs, or bend PVC pipes over rebar stakes for a hoop house, and brace everything with diagonal supports. Tip: pre-drill your screw holes so the wood doesn’t split.
- Add the covering. Attach polycarbonate panels, greenhouse film, or your salvaged windows, sealing every seam. Tip: stretch film on a mild, calm day so it goes on smooth and wrinkle-free.
- Hang the door. Frame the opening, mount the hinges, and add a latch that closes snugly. Tip: make the door wide enough for a wheelbarrow, because future you will be hauling soil.
- Install the vents. Add a roof vent or an opening window on the side opposite the door so air can flow through. Tip: a simple wax-cylinder vent opener works without electricity.
Once the structure is standing, give it some personality. Paint the frame a cheerful color (use low-VOC paint if you want to keep things gentle on the planet), then nail up a quirky sign. “Plant Spa” and “Tomato Hotel” are classics. A little humor makes you smile every time you walk out to water.
If you’re building a small cold frame, you can skip a lot of this. Make a simple lidded box from scrap lumber, prop the lid with a stick, and you’re done in an afternoon. A larger hoop house leans more on the frame and covering steps, since sturdy anchoring and tight film matter most there. Either way, the same logic applies: stable base, solid frame, snug cover, and plenty of airflow.
Setting Up the Inside: Shelving, Airflow, and Eco-Friendly Touches
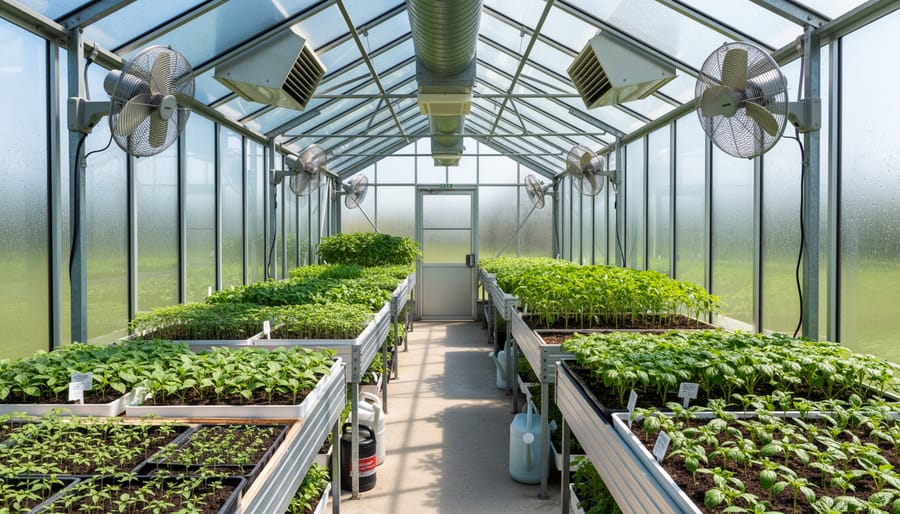
Keeping Temperature and Humidity in the Happy Zone
Meet your hero tool: a cheap min/max thermometer. Hang it at plant height, out of direct sun, and check the high and low each morning. Those two numbers tell you what your greenhouse actually did overnight and at noon, which beats guessing.
Most trouble comes from heat, not cold. On a sunny spring day, a closed greenhouse can cook seedlings in under an hour, so open the door and vents by mid-morning. Shade cloth keeps summer afternoons from turning into a sauna.
For chilly nights, stack water jugs or bricks along the north wall. They soak up daytime warmth and release it slowly. Staying warm and dry matters too: a little morning airflow keeps humidity from breeding mold and mildew.
Water early so leaves dry out before dusk. If you’re growing in tight raised beds, the square foot method keeps plants spaced for good airflow. And if you need a spot to stash your thermometer logbook and shade cloth, this storage bench plan fits right outside the door.
Checking Your Work and What to Plant First
Before you move a single seedling in, give your new greenhouse a few days of “probation.” It’s less dramatic than it sounds, mostly just paying attention.
Start with the structure. Give each corner a firm shake and push on the frame. A little flex is normal, but anything that wobbles should get extra bracing or anchoring before the next windy day. Then check the seal. Close the door, run your hand along the seams and edges, and look for gaps where light shows through. On a breezy day, hold a strip of tissue near suspicious spots and see if it flutters. Patch drafts with weatherstripping or a bit of tape.
Next, play thermometer detective. Check the temperature morning, noon, and night for three days. If midday climbs well above the outside air, open your vents wider or add shade cloth. If nights drop right along with the outdoors, add water jugs or bricks for thermal mass.
Once everything checks out, start with easy winners: lettuce, spinach, basil, parsley, and a tray of tomato seedlings. They forgive beginner mistakes and reward you quickly. Browse a few reliable seed catalogs for varieties that thrive in tight, cozy spaces, and peek at the best veggies for more ideas.
For upkeep, wipe down the covering each season, tighten loose fasteners, and clear out old plant debris to keep pests away.
DIY Greenhouse Questions Gardeners Always Ask
Every greenhouse project sparks the same handful of questions, so let’s tackle them before you grab your drill.
How much does a DIY greenhouse cost?
It depends on your build, but secondhand windows, pallets, and scrap lumber can keep costs very low. A cold frame or PVC hoop house sits at the budget end, while new polycarbonate panels and a bigger frame push the price up.
Do I need a permit?
Small, temporary structures often don’t, but rules vary by town and by size. A quick call to your local building office (and a peek at any HOA guidelines) saves you from tearing down your hard work later.
What size should I build?
Start smaller than you think. A modest greenhouse is easier to heat, vent, and maintain, and you can always add on once you know how much you’ll actually use it.
How do I keep it from overheating?
Vents, a door you can prop open, and shade cloth in summer do most of the work. Keep an inexpensive thermometer inside so you catch a heat spike before your seedlings do.
Can I use it year-round?
Yes, with a few adjustments. Cold frames and hoop houses extend the season, and adding thermal mass like water jugs plus good venting helps you keep growing through cooler months.
Still wondering about something specific to your yard? Don’t sweat it. Most greenhouse questions come down to your local climate and how much time you want to spend tinkering, and a little trial and error (plus a sense of humor when a tomato sulks) goes a long way.
So there you have it: a greenhouse doesn’t have to be a grand, expensive production. Pick a sunny, sheltered spot, choose a build that matches your skills, and scavenge what you can. Old windows, scrap lumber, and spare pallets are happy to get a second life. Take safety seriously, anchor everything against the wind, and give your plants some airflow so they don’t feel like they’re living in a sauna.
If you’re nervous, start small. A cold frame built in an afternoon teaches you plenty, and you can always expand once you’ve got a few successful seedlings under your belt. Then make it yours. Paint the frame a cheerful color, hang a goofy sign on the door, or line the shelves with mismatched crates.
Your plants are about to move into their very own tiny glass-walled apartment, so make it cozy. And when it’s done, I’d love to hear about it. Share your finished greenhouse, your best upcycling find, or your funniest build mishap. We’re all learning together.
