
How to Master Gardening in Squares: A Complete Square Foot Method
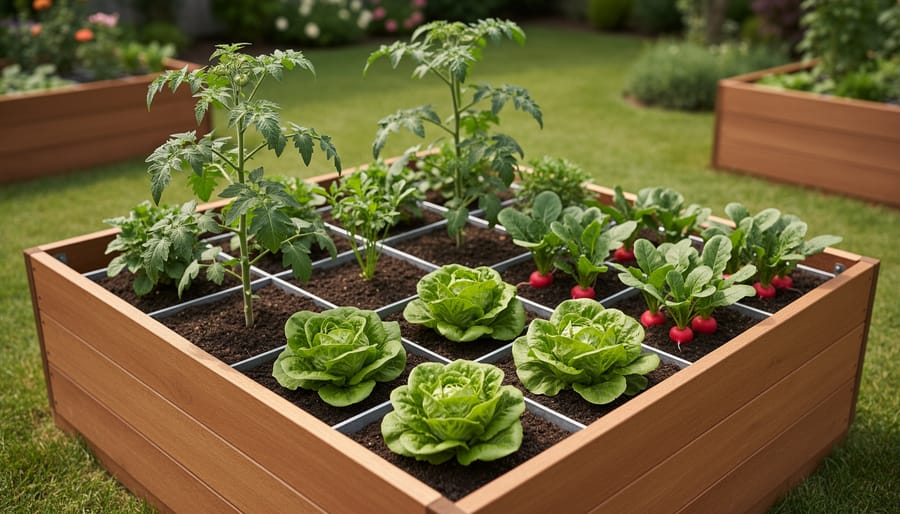
Gardening in squares transforms a 4×4-foot plot into a hyper-organized, high-yield garden by dividing it into individual one-foot sections, each home to a specific crop based on its spacing needs. This method, pioneered by Mel Bartholomew in the 1980s and refined by thousands of growers since, delivers more vegetables in less space with about 80% less water and weeding than traditional row gardening. You’ll build a raised bed, fill it with a custom soil blend, lay a grid, and plant according to density rules that pack lettuce heads, tomato plants, and radishes side by side without competition.
The genius lies in the math and the mindset shift. Instead of scattering seeds down long rows that waste space and invite chaos, you’re treating each square as its own micro-garden. One square holds sixteen radishes. Another cradles a single tomato. This precision means no accidental overcrowding, no wandering into your neighbor’s veggie territory, and remarkably, far fewer weeds because you’re only tending soil where plants actually live. It’s gardening with a blueprint, and the results are as satisfying as finishing a jigsaw puzzle, except this one feeds you all summer.
What You’ll Need to Get Started
Gather your supplies before you start building, and you’ll save yourself multiple trips to the hardware store (or that increasingly familiar back-and-forth to your garage). Square foot gardening requires specific materials, but you’ve got flexibility in choosing budget-friendly or premium options depending on what you’re willing to splurge on.
For your raised bed frame, you’ll need lumber or composite materials to create a border at least 6 inches deep (12 inches is ideal for root crops). Cedar and composite lumber resist rot beautifully and last for years, while recycled plastic boards offer an eco-friendly alternative that’ll outlive us all. If you’re watching your wallet, untreated pine works fine initially, just know you’ll replace it sooner.
The real magic happens with Mel’s Mix, the signature soil blend that makes square foot gardening so productive. You’ll need equal parts vermiculite (for aeration), peat moss or coco coir (for moisture retention), and compost from multiple sources (for nutrients). Coco coir is the more sustainable choice if you want to skip the peat moss debate entirely.
Essential supplies include:
- Frame materials: cedar boards, composite decking, or recycled plastic lumber
- Soil components: vermiculite, peat moss or coco coir, blended compost
- Grid materials: wood lath strips, durable twine, or thin PVC pipes
- Tools: measuring tape, saw, drill, level, and a trusty gardening apron to keep hardware close
Optional but helpful additions include row covers for season extension, plant markers (or popsicle sticks you’ve been saving), and a small hand trowel for transplanting seedlings into their designated squares.
Before You Begin: Setting Yourself Up for Success
Before you grab your lumber and start mixing soil, let’s make sure you’ve set yourself up for a harvest worth celebrating instead of a headache worth forgetting. A little groundwork now prevents those face-palm moments later.
First, think about your back. Those bags of vermiculite and compost aren’t light, and cedar boards have a way of being longer and more awkward than they looked at the store. Bend at the knees, not the waist, and get help moving anything that makes you second-guess your gym routine. If you’re cutting lumber yourself, remember the carpenter’s mantra: measure twice, cut once. Or better yet, sweet-talk someone else into handling the saw while you supervise with a cold drink.
Location matters more than you might think. Your beds need 6 to 8 hours of direct sunlight daily, so that shady spot under the oak tree won’t cut it no matter how charming it looks. Place beds within easy hose reach because you won’t keep up with watering if it requires an expedition. Check your local ordinances too, some neighborhoods have rules about raised bed height or placement near property lines.
If you’re building over existing soil rather than on a patio, test the drainage by digging a hole and filling it with water. If it drains within a few hours, you’re golden. While you’re at it, a quick pH test doesn’t hurt, though Mel’s Mix is forgiving enough to work in most situations.
Building Your Square Foot Garden: Step by Step
Creating the Perfect Grid System
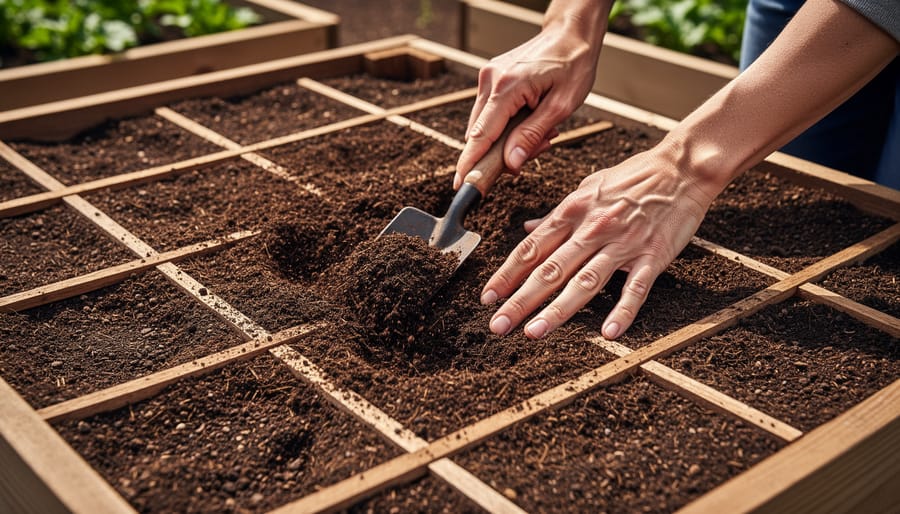
Your grid is the game board, and you’re about to play the most rewarding strategy game in gardening. The classic approach uses thin wood lath (typically one inch by two inches) nailed or screwed directly to the frame’s top edges, creating permanent squares. Measure and mark every twelve inches along all four sides, then lay your lath strips across to form a tic-tac-toe pattern that would make your childhood self proud. For a four-by-four bed, you’ll need four strips running each direction, eight total. Secure them where they cross for stability.
If you prefer flexibility or you’re renting, removable twine offers a brilliant alternative. Hammer small nails or screw in eye hooks every twelve inches around the frame’s perimeter, then weave cotton or jute twine (skip synthetic, it’s not garden-friendly) to create your grid. You can adjust or remove it between seasons without power tools or commitment issues.
For the creatively inclined, bamboo stakes, copper tubing, or even painted PVC pipes work beautifully and add visual interest. Some gardeners use different colored twines to mark cool-season versus warm-season squares, turning function into art. If you’re planning vertical elements for climbing crops, coordinate your grid with garden arch ideas to maximize both yield and beauty. Whatever method you choose, accuracy matters, sloppy squares lead to spacing chaos and overcrowded plants fighting for resources.
Mastering Plant Spacing in Your Squares
The genius of square foot gardening lies in its beautifully simple spacing formula, and yes, you’re finally putting that grade school math to work in your backyard. Each square holds 1, 4, 9, or 16 plants depending on how much elbow room they need at full size. This system of plants spaced by maturity eliminates the guesswork that plagues traditional row gardening.
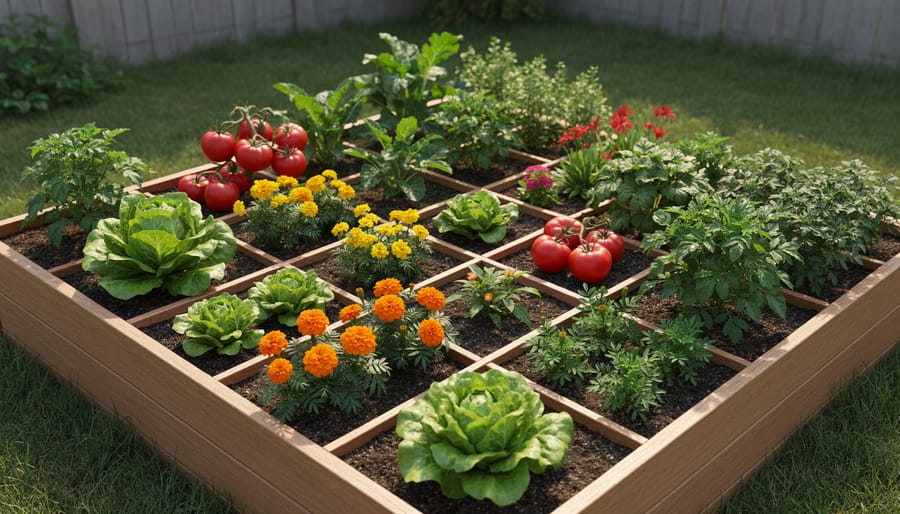
Here’s how it works in practice. Large, sprawling plants like tomatoes, peppers, or cabbage get a full square to themselves (that’s 1 per square). Medium-sized growers such as lettuce, chard, or marigolds nestle in at 4 plants per square, arranged in a tidy two-by-two pattern. Smaller crops like beets, bush beans, or spinach fit 9 to a square in a three-by-three grid. The tiniest vegetable picks like radishes, carrots, or green onions pack in at 16 per square, four across and four down.
This mathematical precision isn’t just satisfying to your inner organizer. It maximizes your harvest while preventing the overcrowding that leads to disease, poor air circulation, and stunted growth. Instead of fighting with tangled stems or thinning endless seedlings, you plant exactly what the square can support and watch it thrive.
The formula also makes crop planning delightfully straightforward. Planning a salad garden? Dedicate four squares to lettuce varieties (16 heads total), one to a cherry tomato, and two to radishes (32 crisp roots). No complicated spacing charts, no wasted seeds, no measuring tape required beyond your initial grid. Just pure, productive simplicity that turns every square into a perfectly calibrated growing zone.
Maintaining Your Square Foot Garden Through the Season
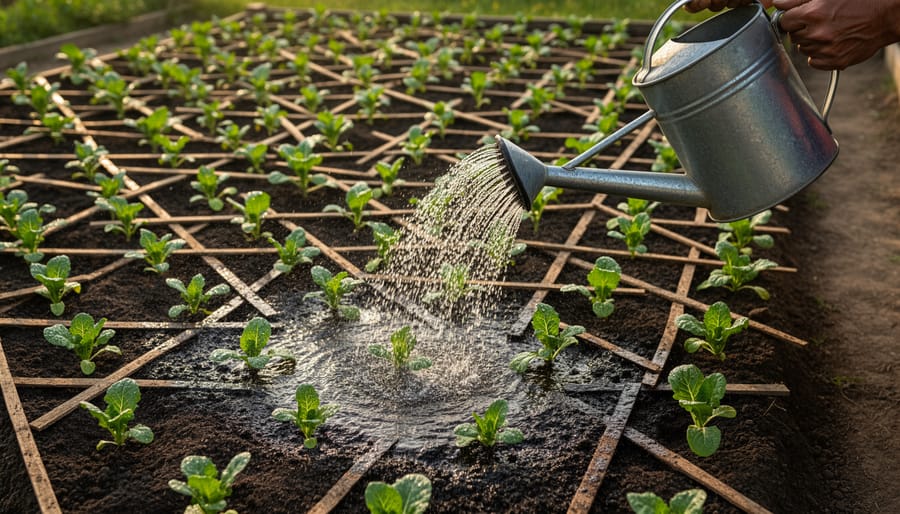
Your square foot garden won’t run itself, but the good news is that maintenance feels more like tending a living puzzle than managing a sprawling plot. Water deeply at soil level using drip irrigation or a watering wand, overhead sprinklers waste water through evaporation and invite fungal diseases. Aim for consistent moisture without waterlogging, checking daily during summer heat and backing off when cooler weather arrives. Your grid system conserves water naturally since you’re only irrigating planted squares, not empty paths, cutting usage by up to 80% compared to traditional row gardens.
Succession planting keeps your harvest rolling all season long. As you pull spent lettuce from a square in early summer, replant it immediately with bush beans or a fall crop like kale. Rotate plant families between squares each season, where tomatoes grew this year, plant beans next year, to prevent soil depletion and disrupt pest cycles. This built-in rotation is easier to track on a grid than across sprawling beds, and it slashes the need for synthetic fertilizers since legumes naturally replenish nitrogen.
For pest management, go organic: handpick beetles into soapy water, invite ladybugs and lacewings with flowering herbs tucked into corner squares, or spray neem oil for stubborn aphids. Companion planting within a single square works beautifully, pair basil with your tomato, tuck marigolds around squash, creating a tapestry that confuses pests while pleasing your eye. Taller crops like tomatoes and pole beans need vertical support, so consider buying plant stakes or installing trellises at the north side of your bed to avoid shading shorter neighbors.
Refresh your Mel’s Mix annually by adding a few inches of fresh compost to each square before spring planting. This simple step maintains fertility without chemical runoff, keeping your garden, and the watershed downstream, healthy season after season.
How to Know Your Square Foot Garden Is Thriving
Your square foot garden is thriving when you see deep green foliage, sturdy stems that stand upright without flopping, and plants filling their designated squares without spilling into neighbors’ territory. Each square should look intentionally full rather than cramped. Within four to six weeks of planting, you’ll start harvesting radishes and lettuce, with beans and tomatoes following in their own time. A healthy bed requires minimal weeding since your dense plantings shade out most opportunistic sprouts, and the soil stays loose and crumbly rather than compacted.
If you’re seeing yellowing leaves, check your watering schedule first since inconsistent moisture causes more problems than pests. Holes in foliage? Hand-pick larger insects at dawn when they’re sluggish, or try companion planting marigolds in corner squares. Poor germination usually means seeds from last year’s seed catalogs got stored in a hot garage, or you planted too deep. The fix is fresh seeds at the correct depth, which is typically two to three times the seed’s diameter.
When you’re mentally converting every sunny patch of lawn into potential garden real estate, that’s your cue to expand. Start a second bed rather than overcrowding your first. Celebrate each small win, from that first radish pulled to the satisfaction of scissoring fresh lettuce for dinner. Every challenge teaches you something about your specific microclimate and soil that no book could.
Common Questions About Square Foot Gardening Success
Can you really square foot garden in containers? Absolutely. Use containers at least 6 inches deep for most vegetables, fill them with Mel’s Mix, and mark off squares with twine or paint. This works brilliantly for balcony gardeners or anyone who wants to test the method before committing to a raised bed.
What’s the best grid size for beginners? Start with a 4×4 foot bed, which gives you 16 manageable squares without overwhelming your weekends or your budget. You can build and plant it in an afternoon, and the compact size keeps everything within arm’s reach. Think of it as gardening’s gateway drug, perfectly sized to hook you before you start planning your garden empire.
How do you handle tall plants like tomatoes in a square foot garden?
Place tall crops on the north side of your bed so they don’t shade shorter plants, and use sturdy stakes or cages anchored outside the grid. One determinate tomato fits nicely per square with proper support.
Can you use square foot gardening for perennials?
Yes, but dedicate specific squares to perennials like strawberries, herbs, or asparagus since they’ll occupy that space year-round. Mark these squares clearly so you don’t accidentally replant them during spring enthusiasm.
How often should you replace the soil?
Refresh your Mel’s Mix annually by adding a few inches of compost to each square. You don’t need to replace the entire bed unless you’re dealing with disease issues or severe nutrient depletion.
When’s the best time to start square foot gardening?
Build your bed anytime, but plant according to your local frost dates and growing season. Spring and fall are ideal for most regions, letting you enjoy two productive seasons per year.
What if your squares aren’t producing as much as you expected? Check your sunlight first, most vegetables need those full 6-8 hours daily. Then verify you’re using proper spacing and haven’t accidentally crammed too many plants into ambitious squares. Sometimes the best lesson is discovering that radishes really do need their personal space, just like introverts at parties.
You’ve got everything you need to transform a modest patch of ground into a productive, beautiful garden. Square foot gardening works because it strips away the guesswork and gives you a proven framework that adapts to your space, your climate, and your creative vision. Whether you’re planting your first grid or your fiftieth, the method meets you where you are.
Start with one bed if that’s what feels right. Plant the vegetables your family actually eats. Tuck herbs into corners and let a bold sunflower claim a square just because it makes you smile. The grid is your structure, not your prison. It’s there to help you succeed, not to stifle your gardening personality.
You’re joining a community that’s been growing abundance in small spaces since 1981, proving year after year that you don’t need acreage to harvest armloads of fresh produce. Mel Bartholomew’s original vision endures because it simply works, and now you get to make it yours.
So grab your lumber, mix that soil, and draw your lines. Your squares are waiting, and they’re about to become the most productive, most satisfying few feet of earth you’ve ever tended. Happy planting.
